Yesterday I’ve refashioned an old, but never used sneaker. Until now I wasn’t enough brave to repaint or redesign any shoes even if I do it with old dresses for decades. So after I spent a day with surfing on Pinterest, I made a big step forward and started to paint. Here I give you a step by step tutorial of the whole process… who knows, maybe tomorrow you will take a deep breath and make your old shoes up to date 😉
A tegnapi nap programja régi, sosem használt tornacipőm átváltoztatása volt. Mostanáig nem tudtam rászánni magam cipőátalakításra, hiába teszem ezt ruhákkal évtizedek óta. De tegnap, hosszas, Pinterest-en való kutakodás után végre rászántam magam, és elkezdtem festeni. Az alábbiakban lépésről lépésre megmutatom, mit is csináltam… ki tudja, talán holnap mély levelőt veszel, és felújítod egy régi cipődet 😉
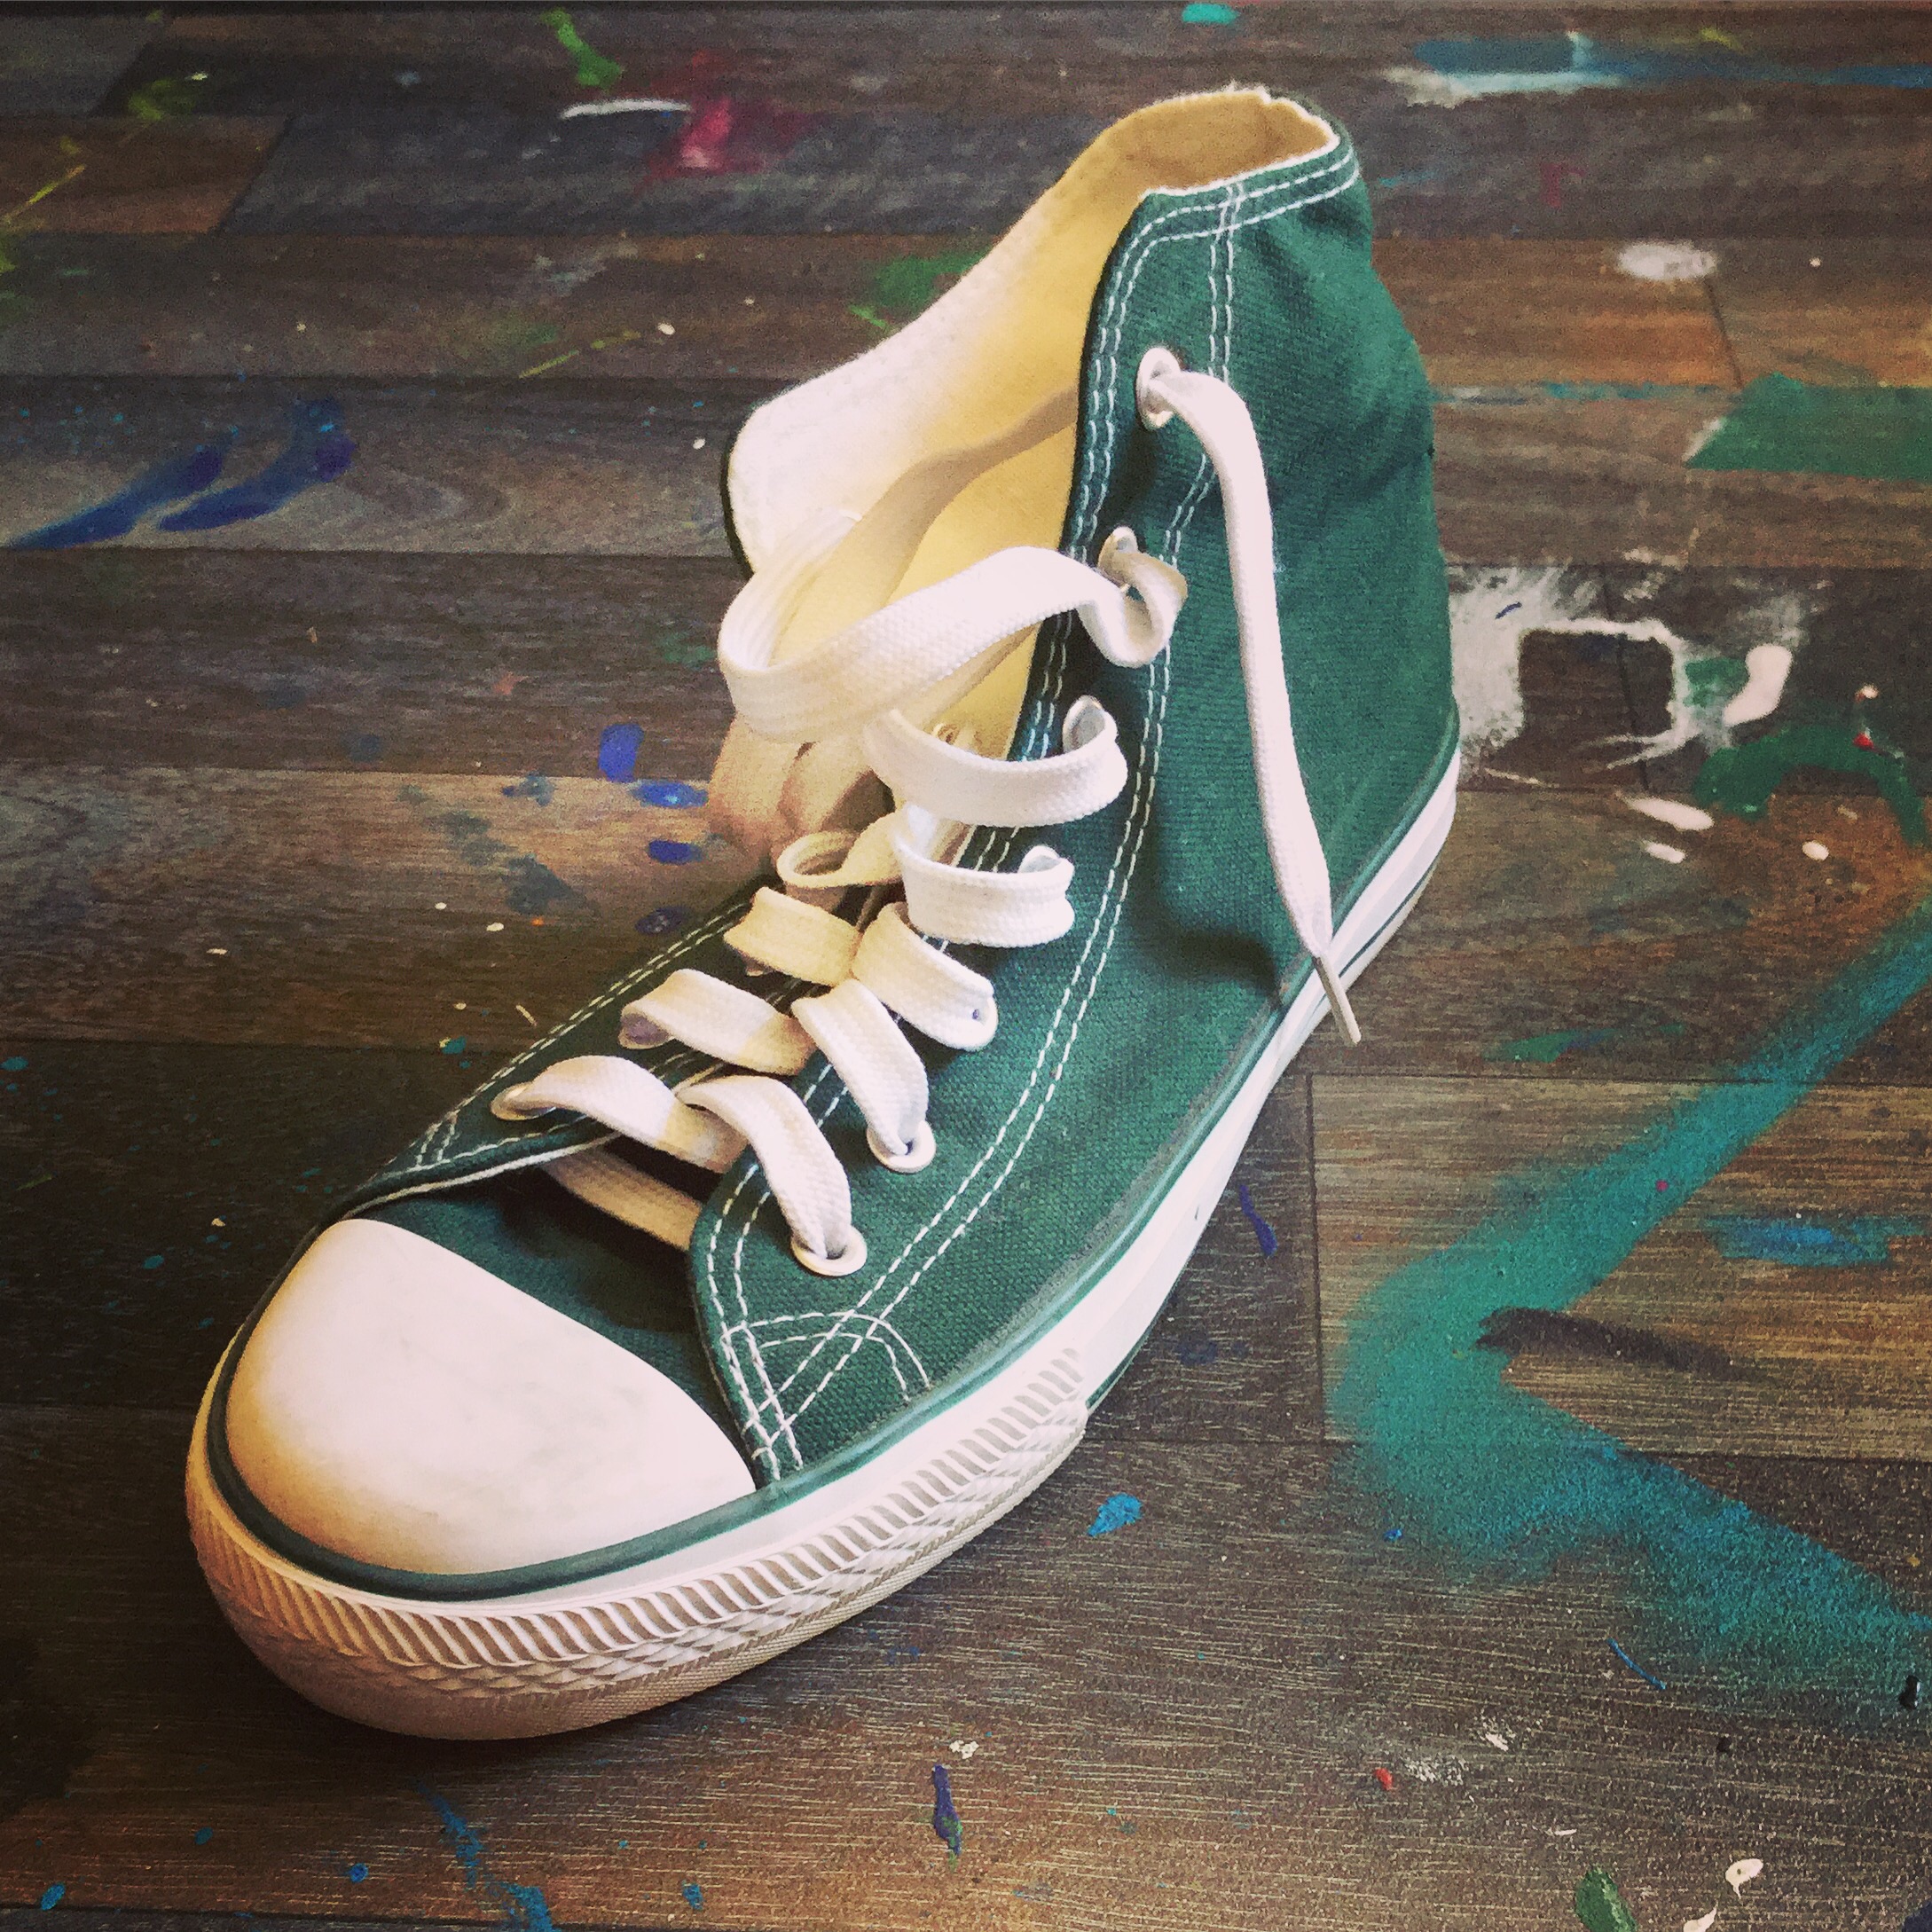
That’s the original shoe… Így nézett ki az eredeti lábbeli.


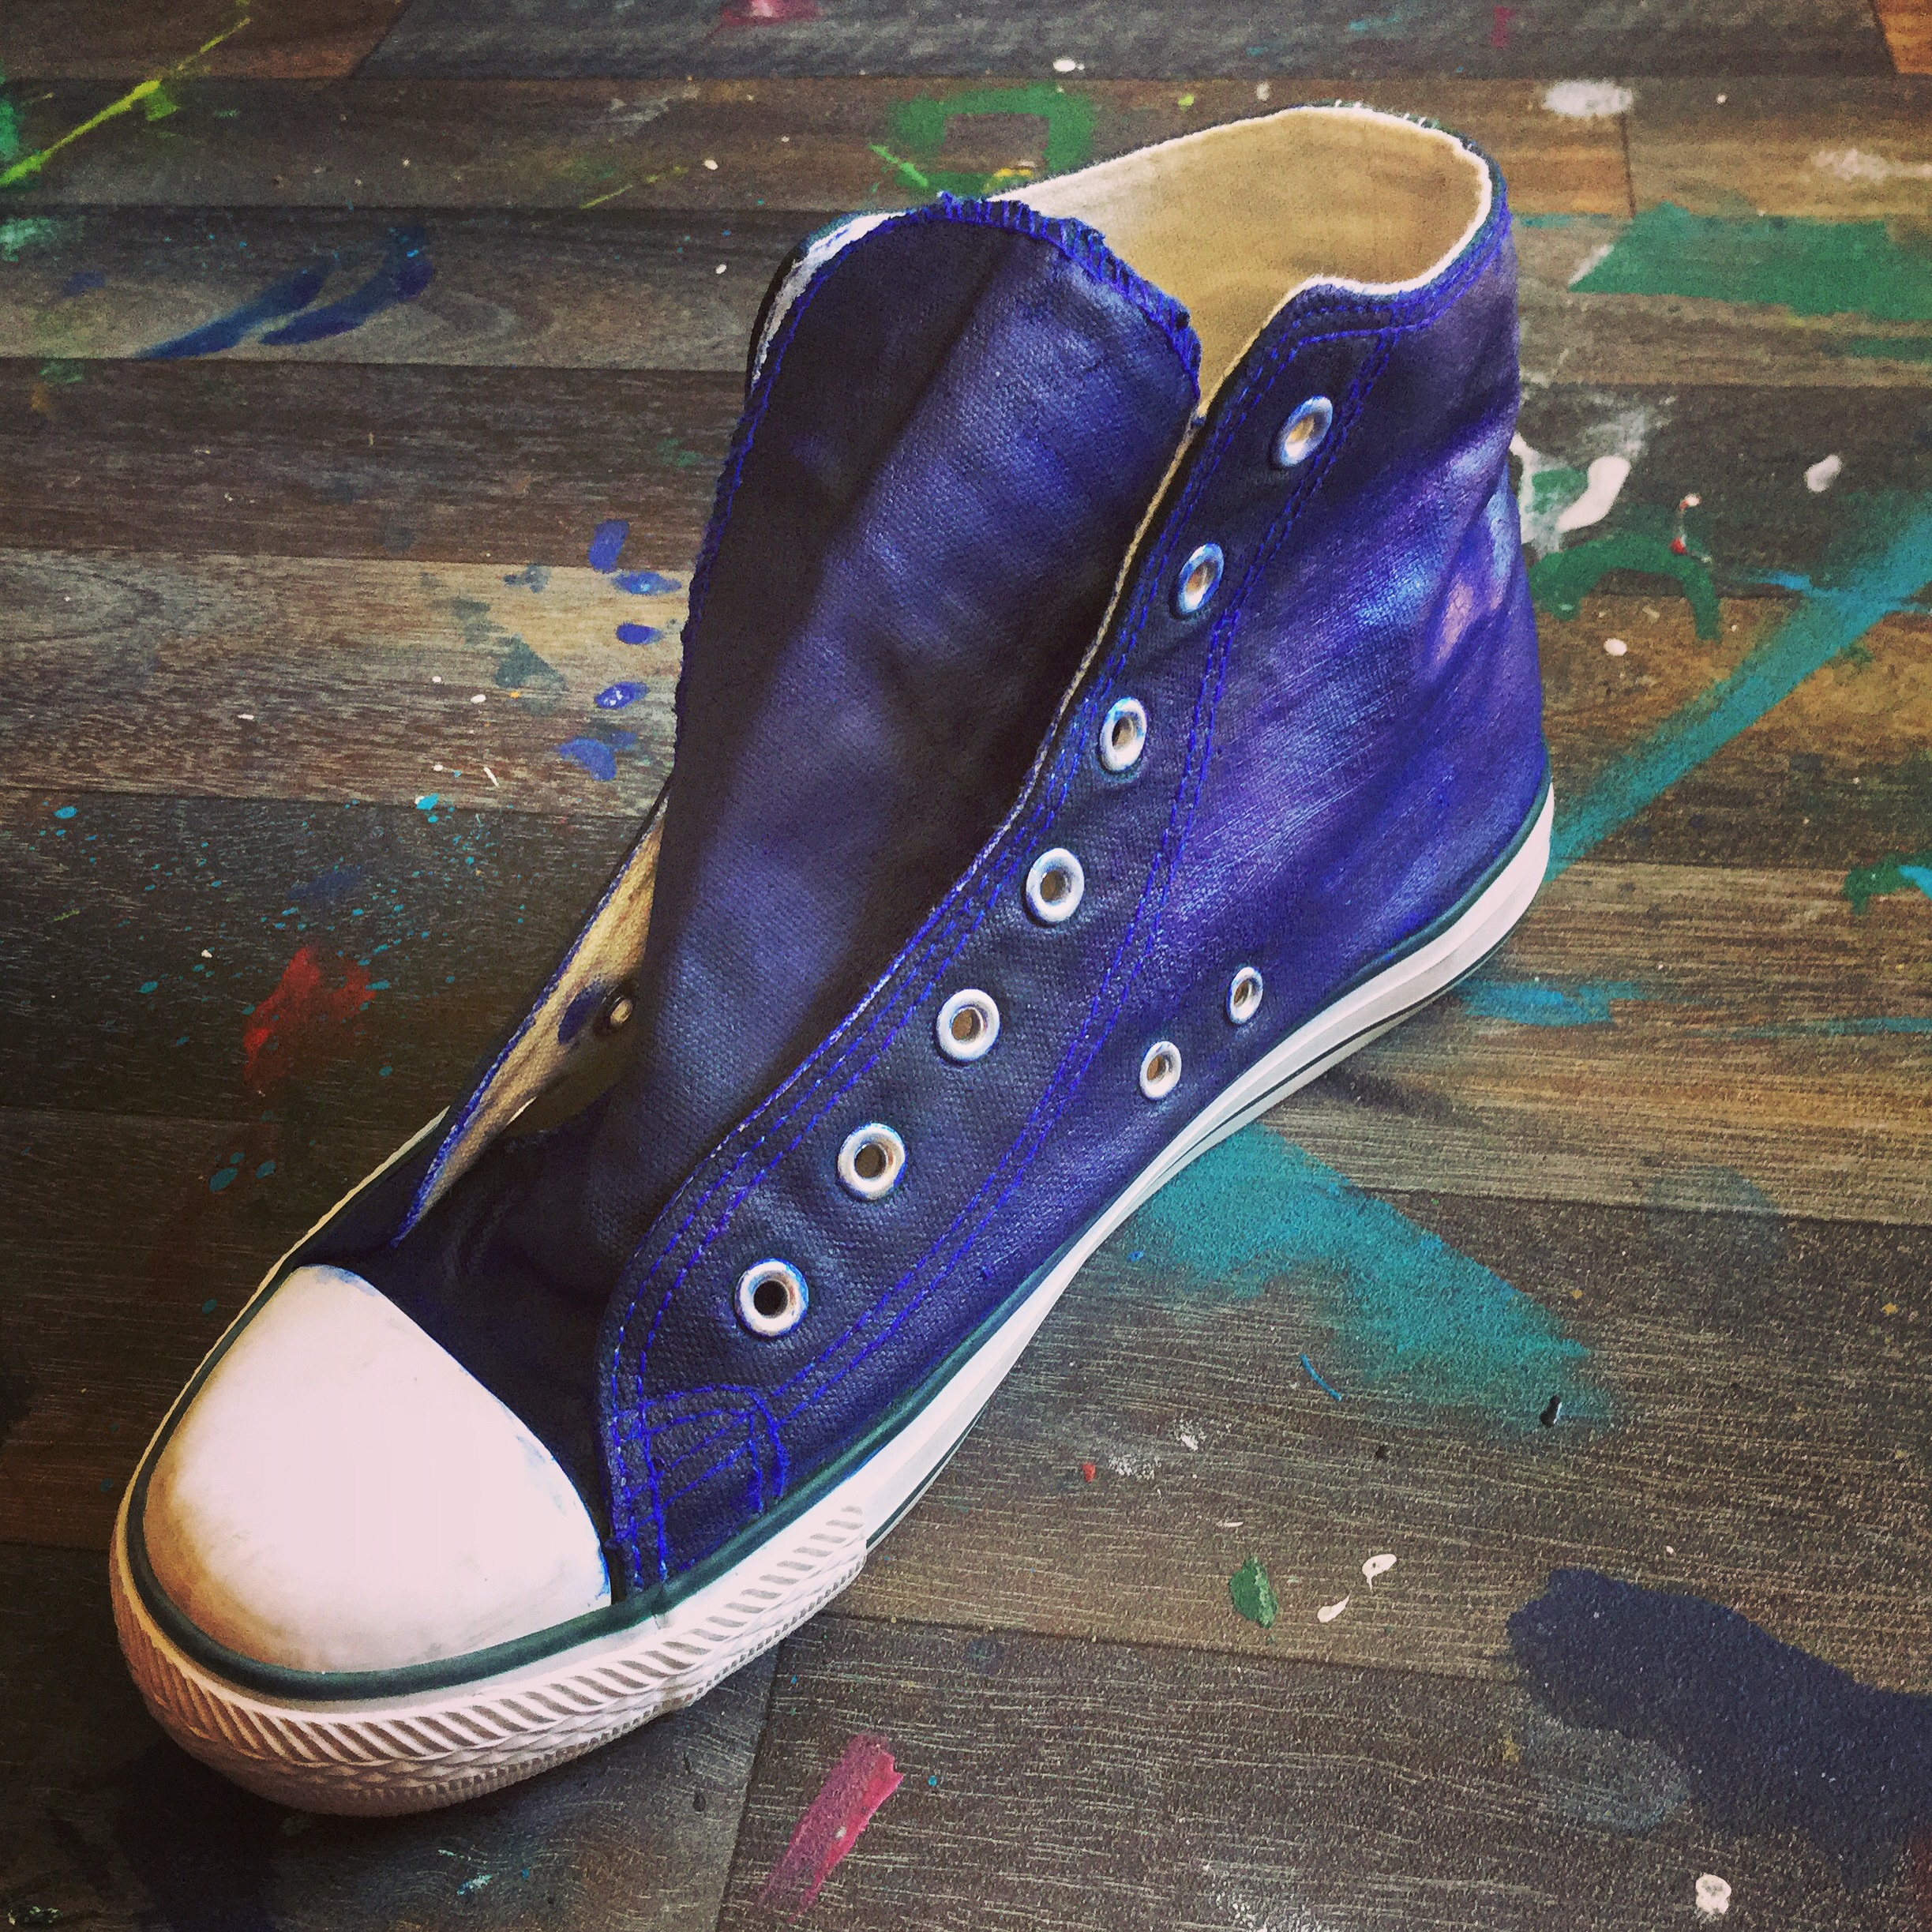
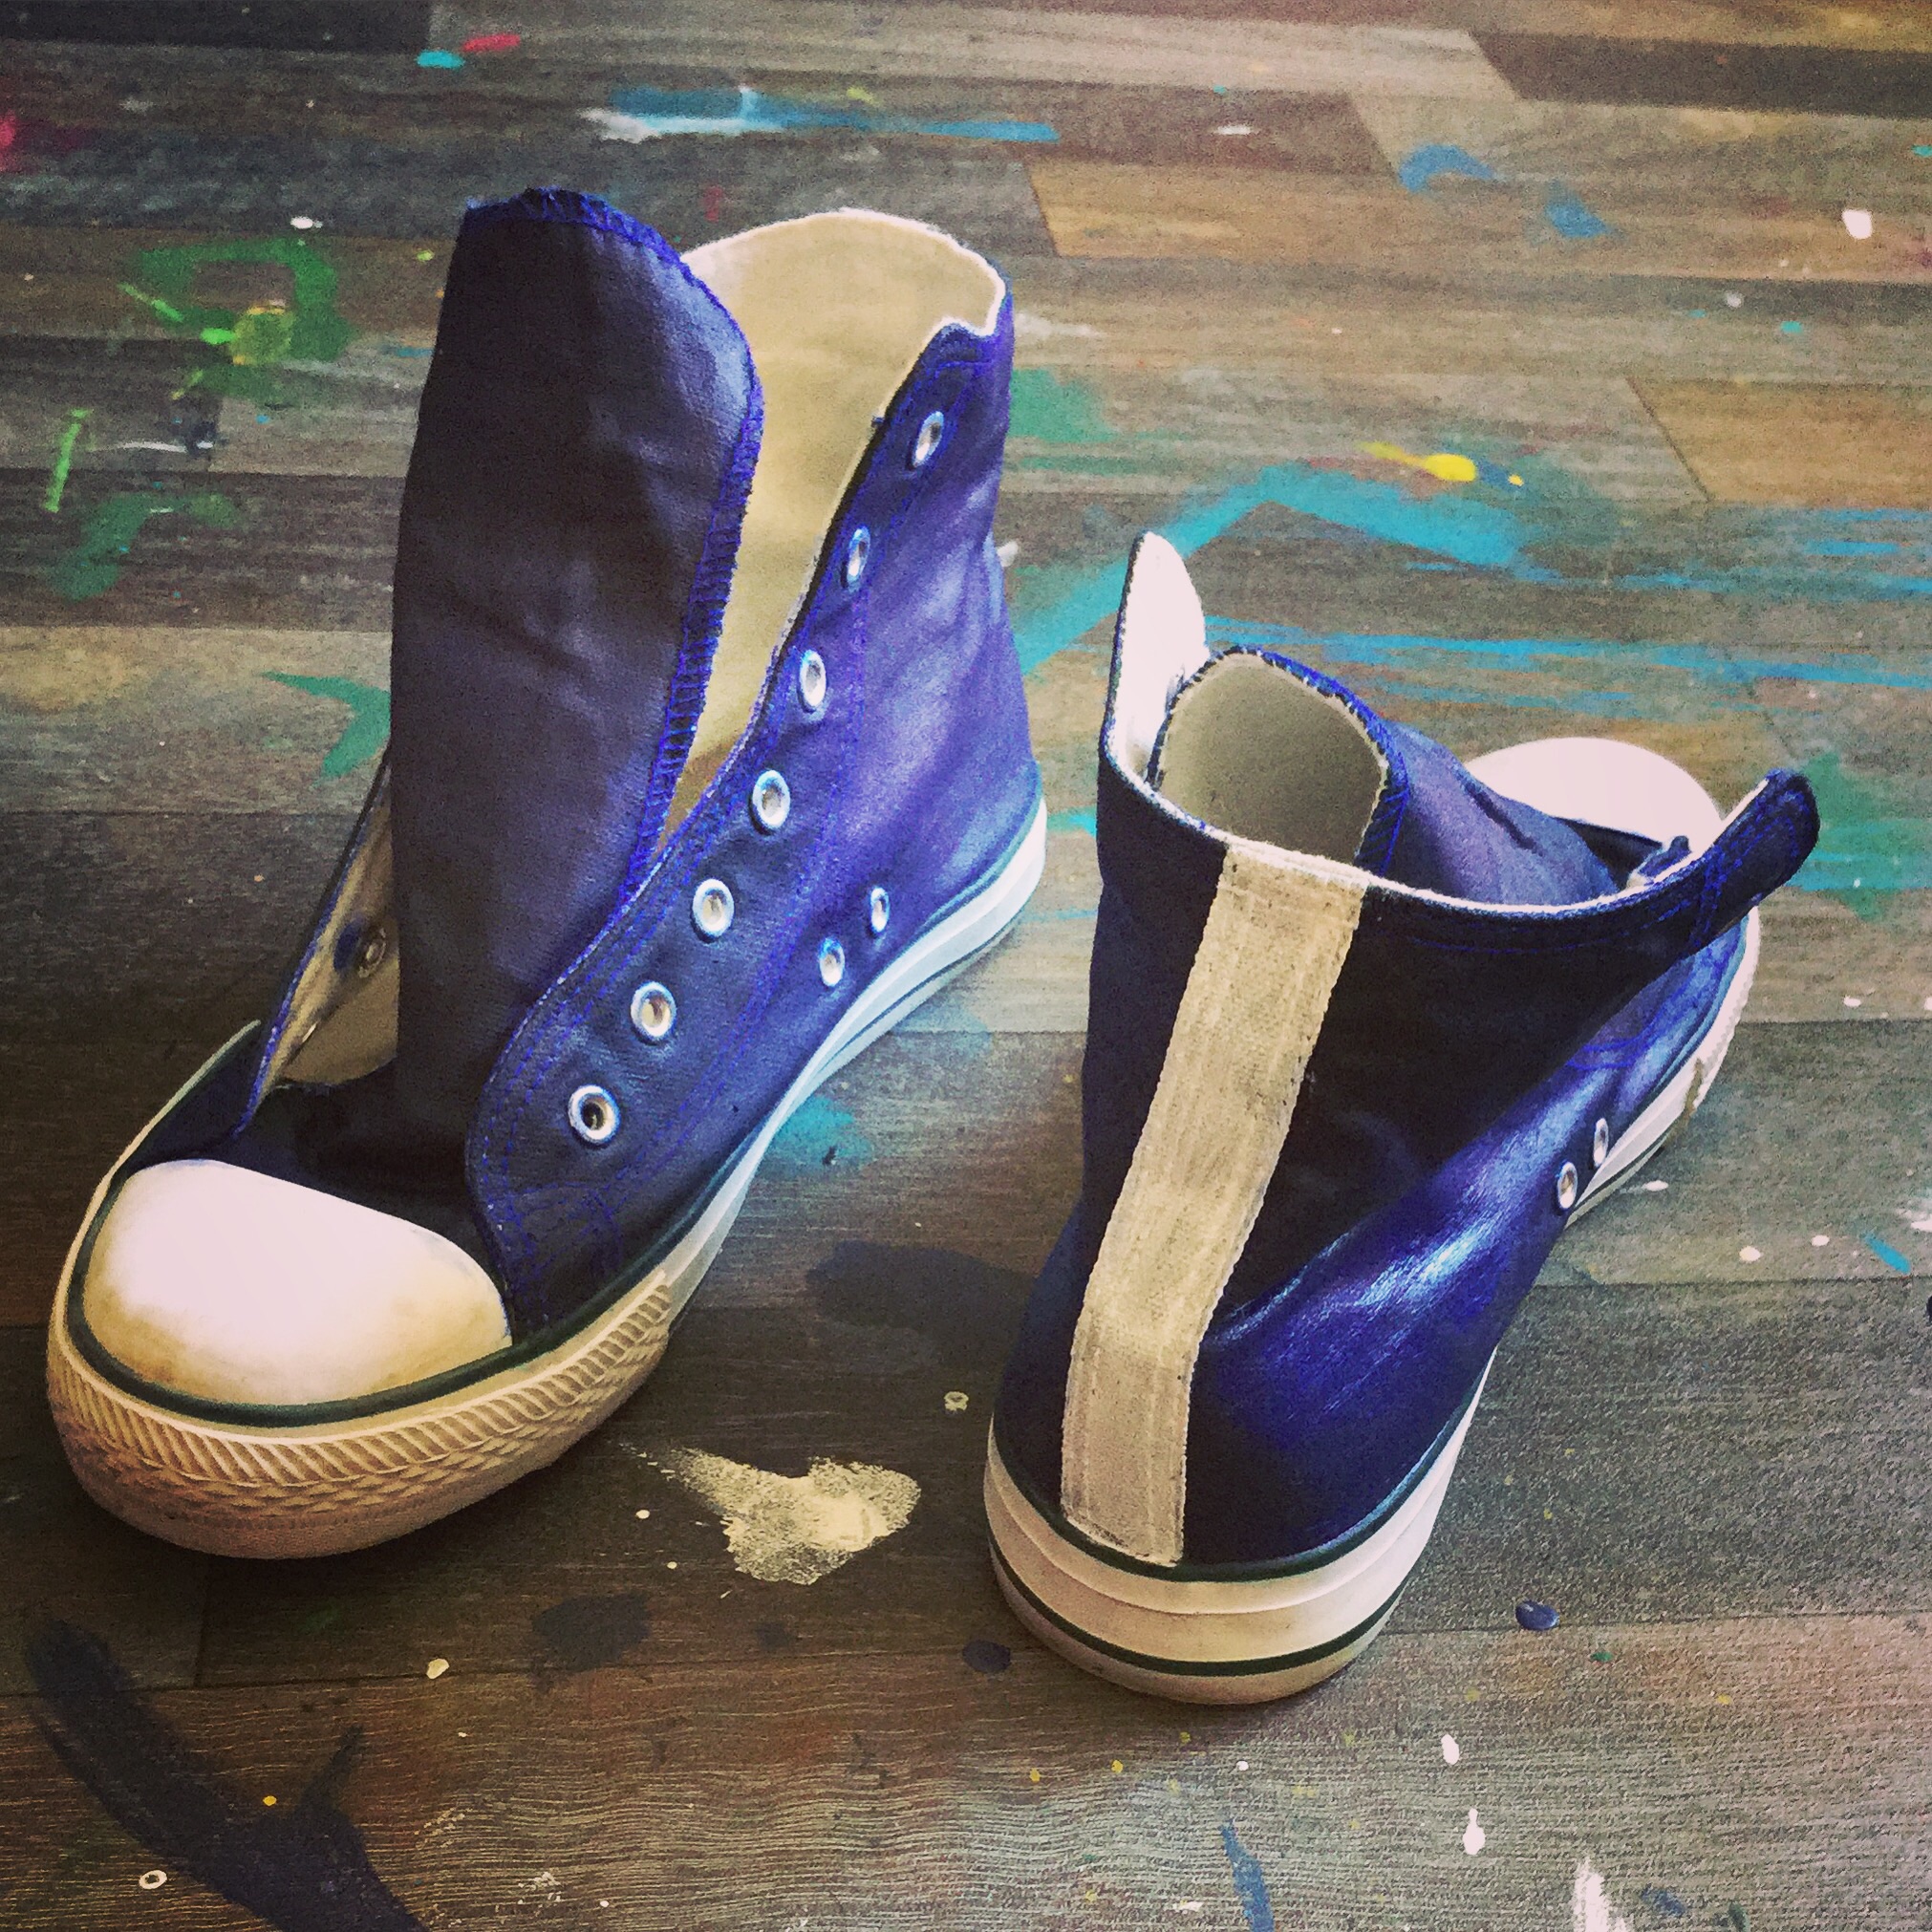
1. After removing the laces I painted the textile parts with acrylic paint taking care of the borders. Where the paint touched the rubber I just wipped it with my finger immediately (of course you can use a sponge or paper towel for it, I’m just too impatient 😀)… A cipőfűzők eltávolítása után akrilfestékkel átfestettem a textil részeket, ügyelve a szélekre. Ha a gumira folyt a festék, rögtön letöröltem az ujammal (lehet ronggyal, vagy papírtörlővel is persze, de én ahhoz túl türelmetlen vagyok 😀)

I skipped the back strip, because I wanted it to paint another color on it… A hátsó csíkot kihagytam, mert azt más színre akartam festeni.

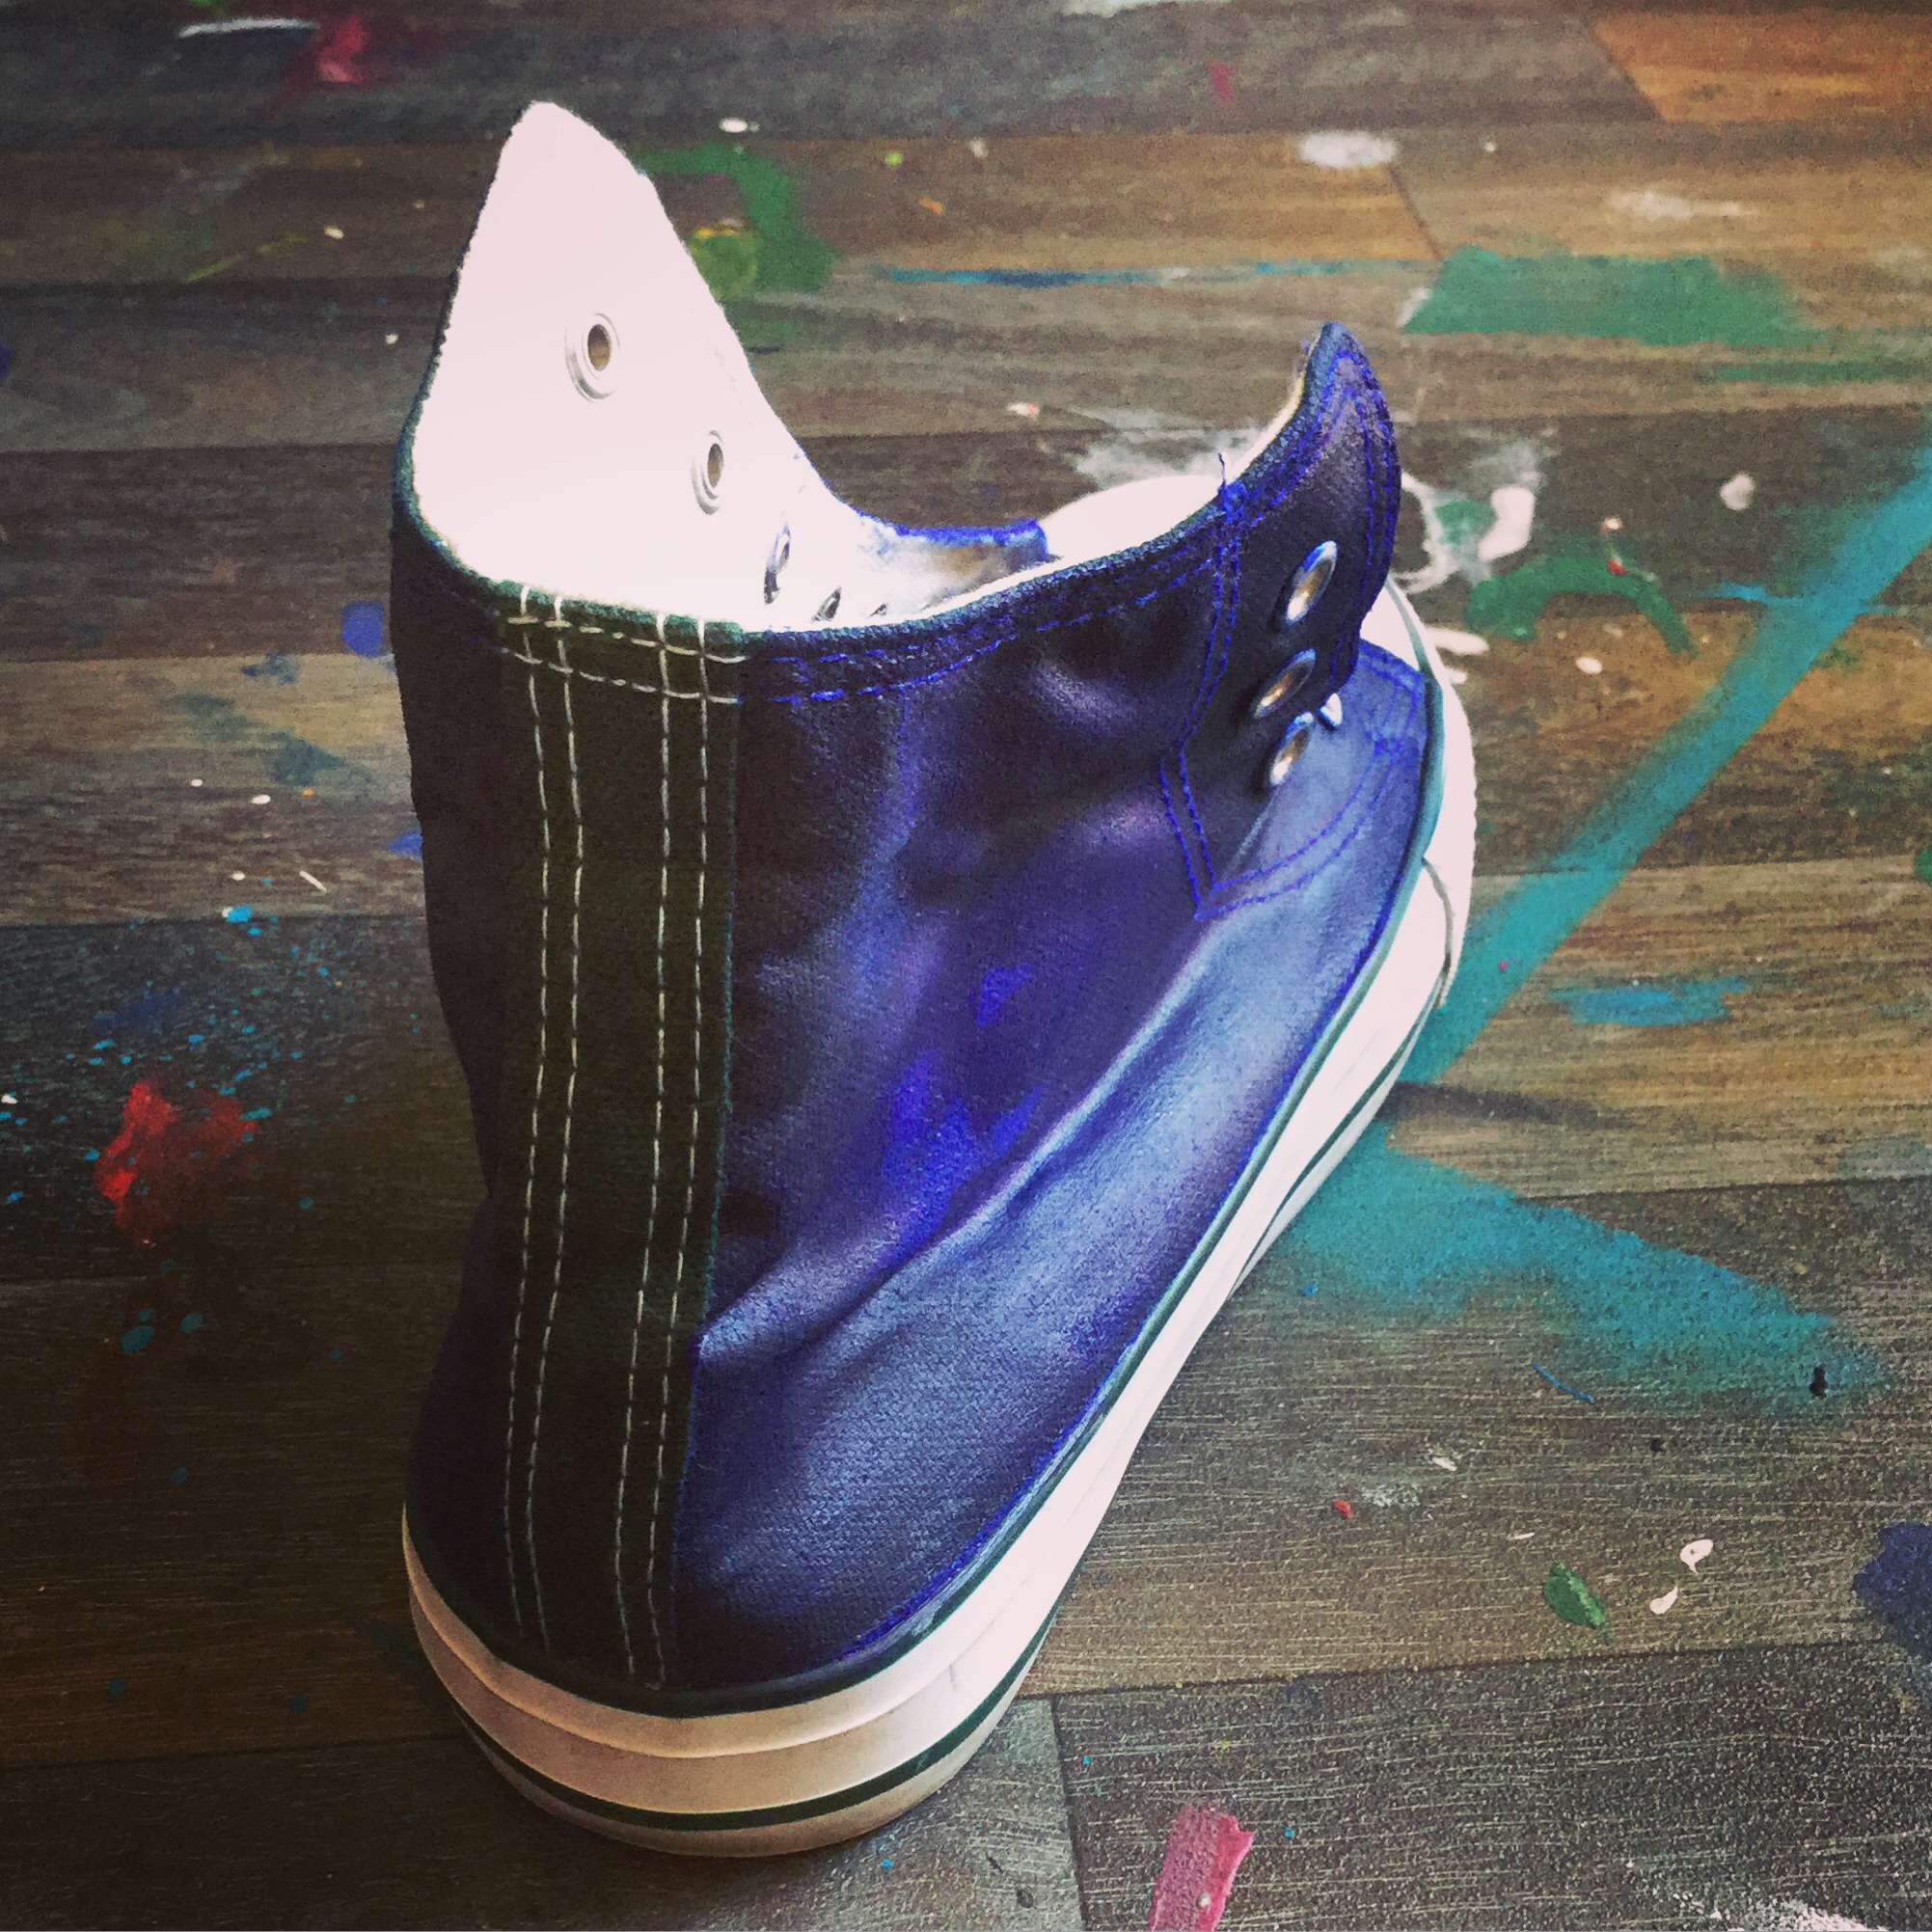
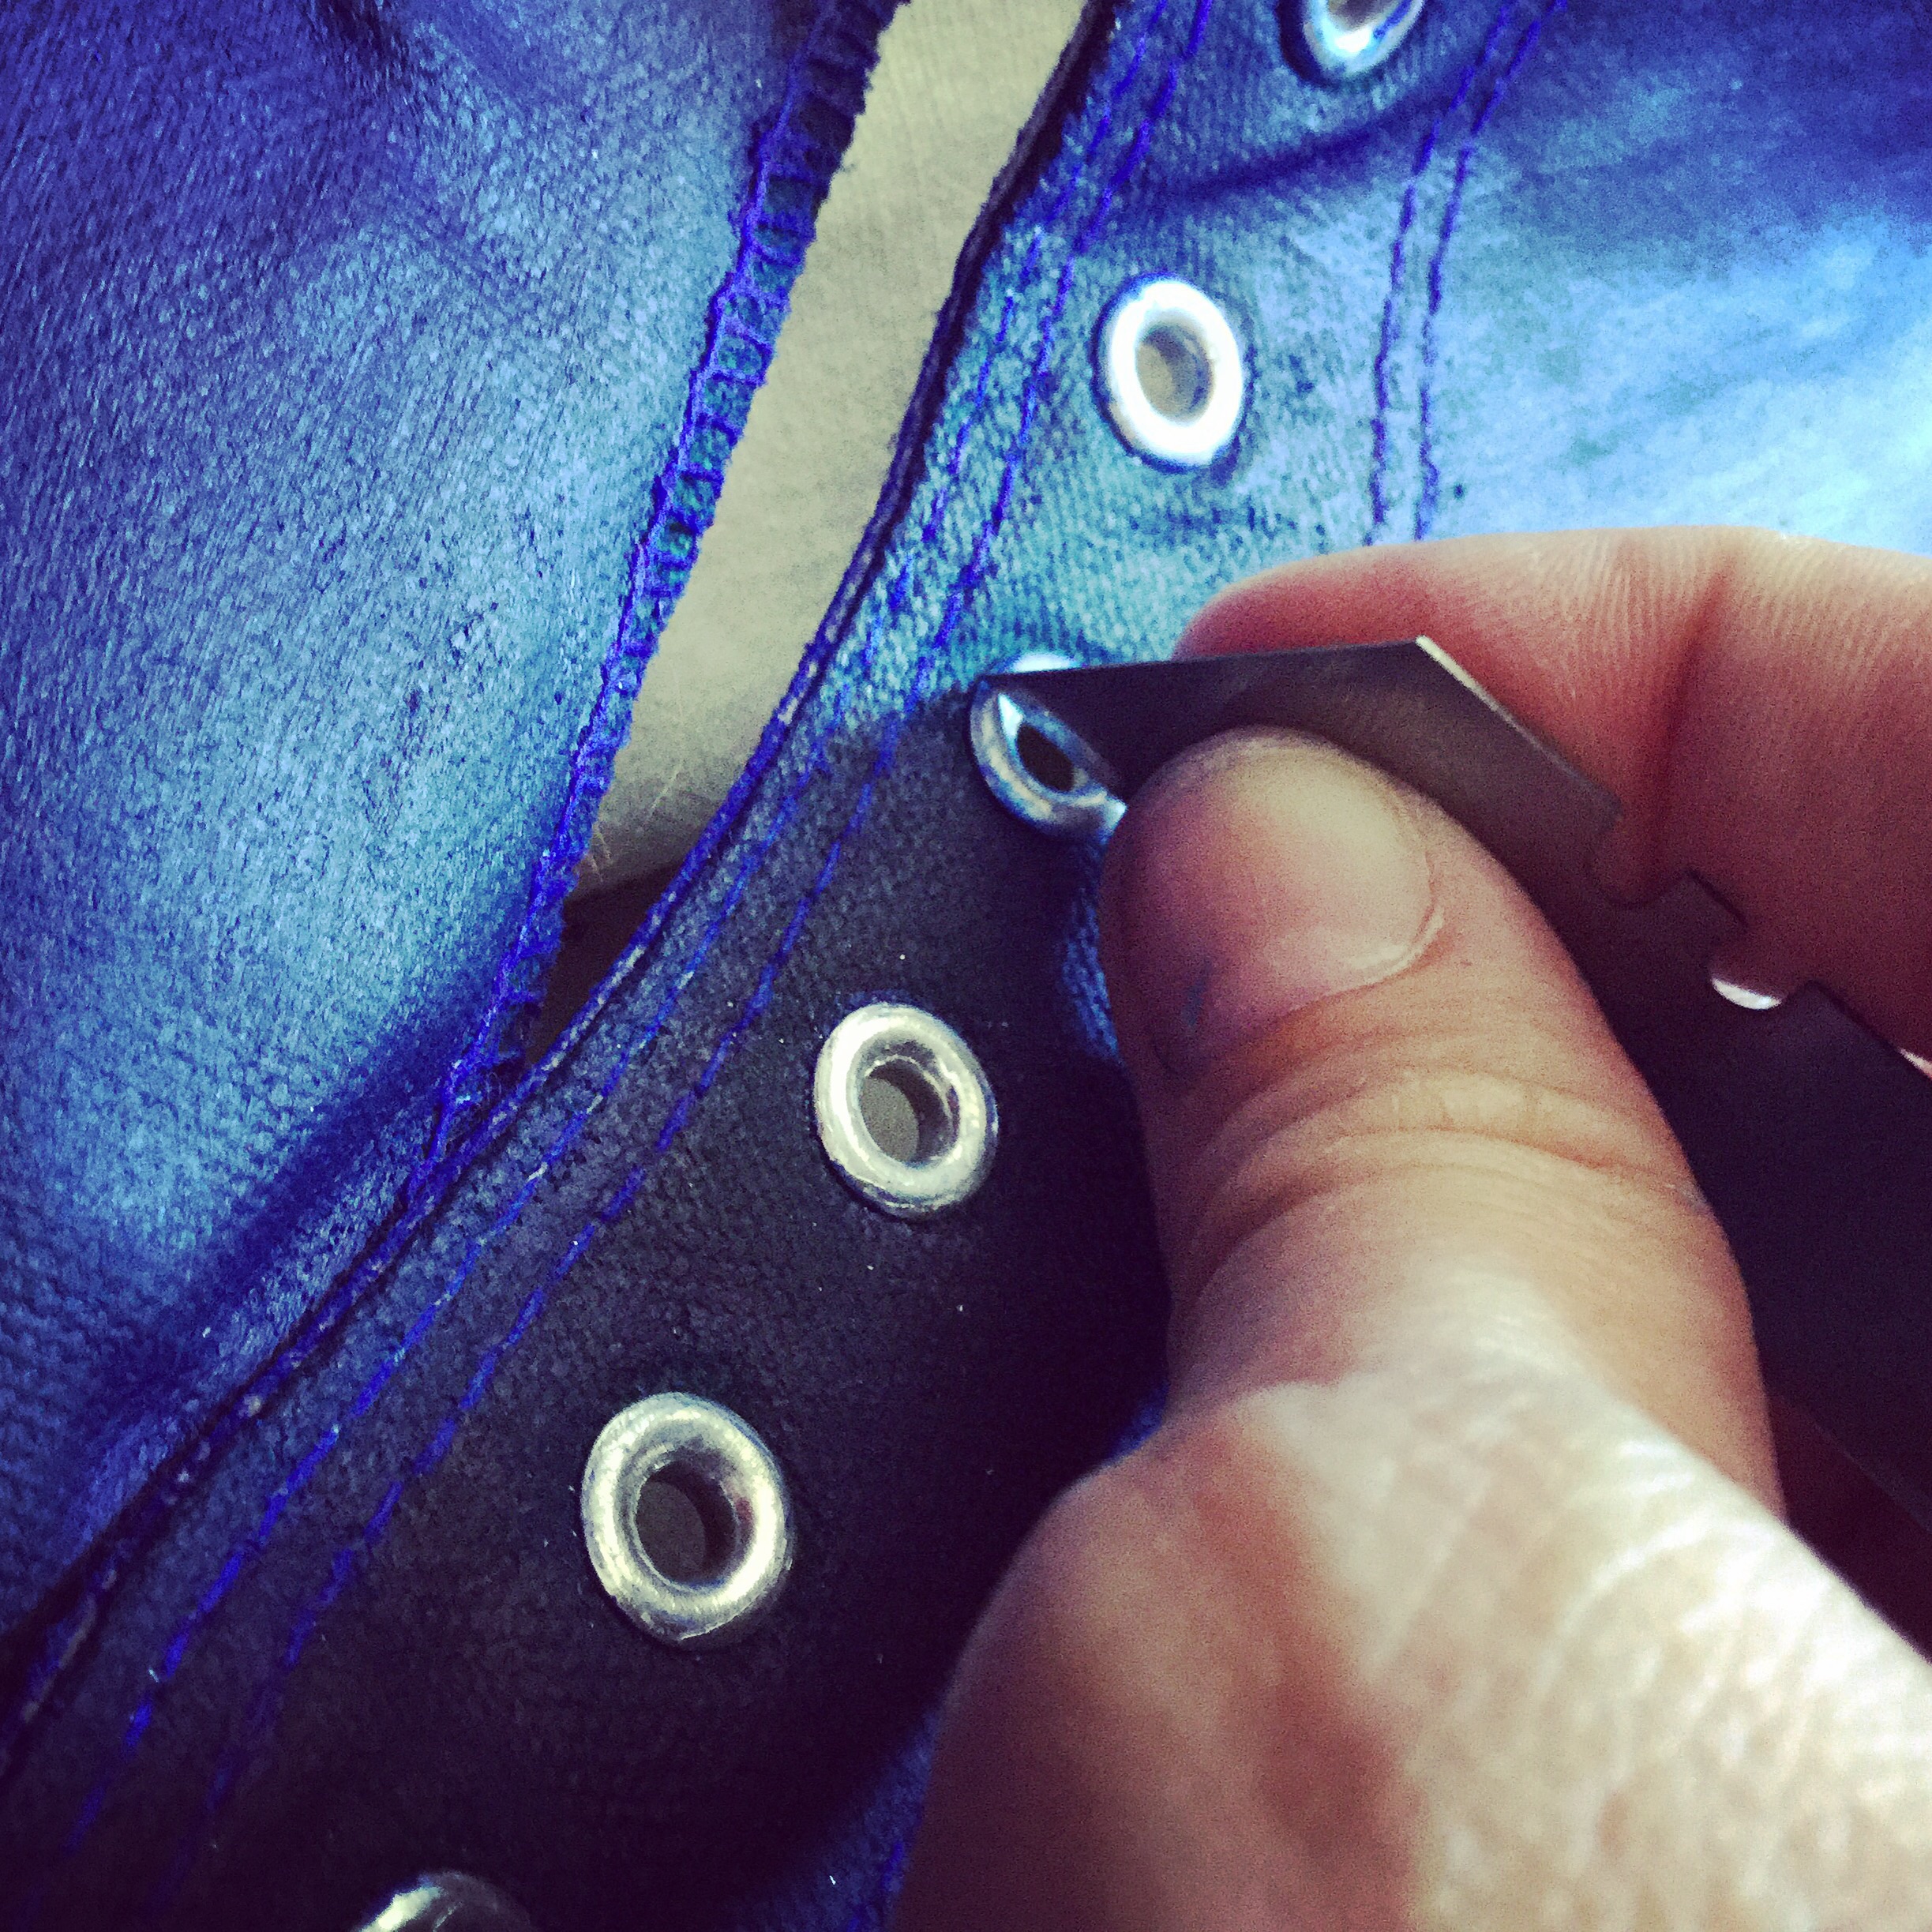
2. With a blade I carefully removed the paint around the shoe-eyelets’ frame… Egy pengével óvatosan lekapartam a maradék festéket a cipőfűzőlyuk aluminium kereteiről.

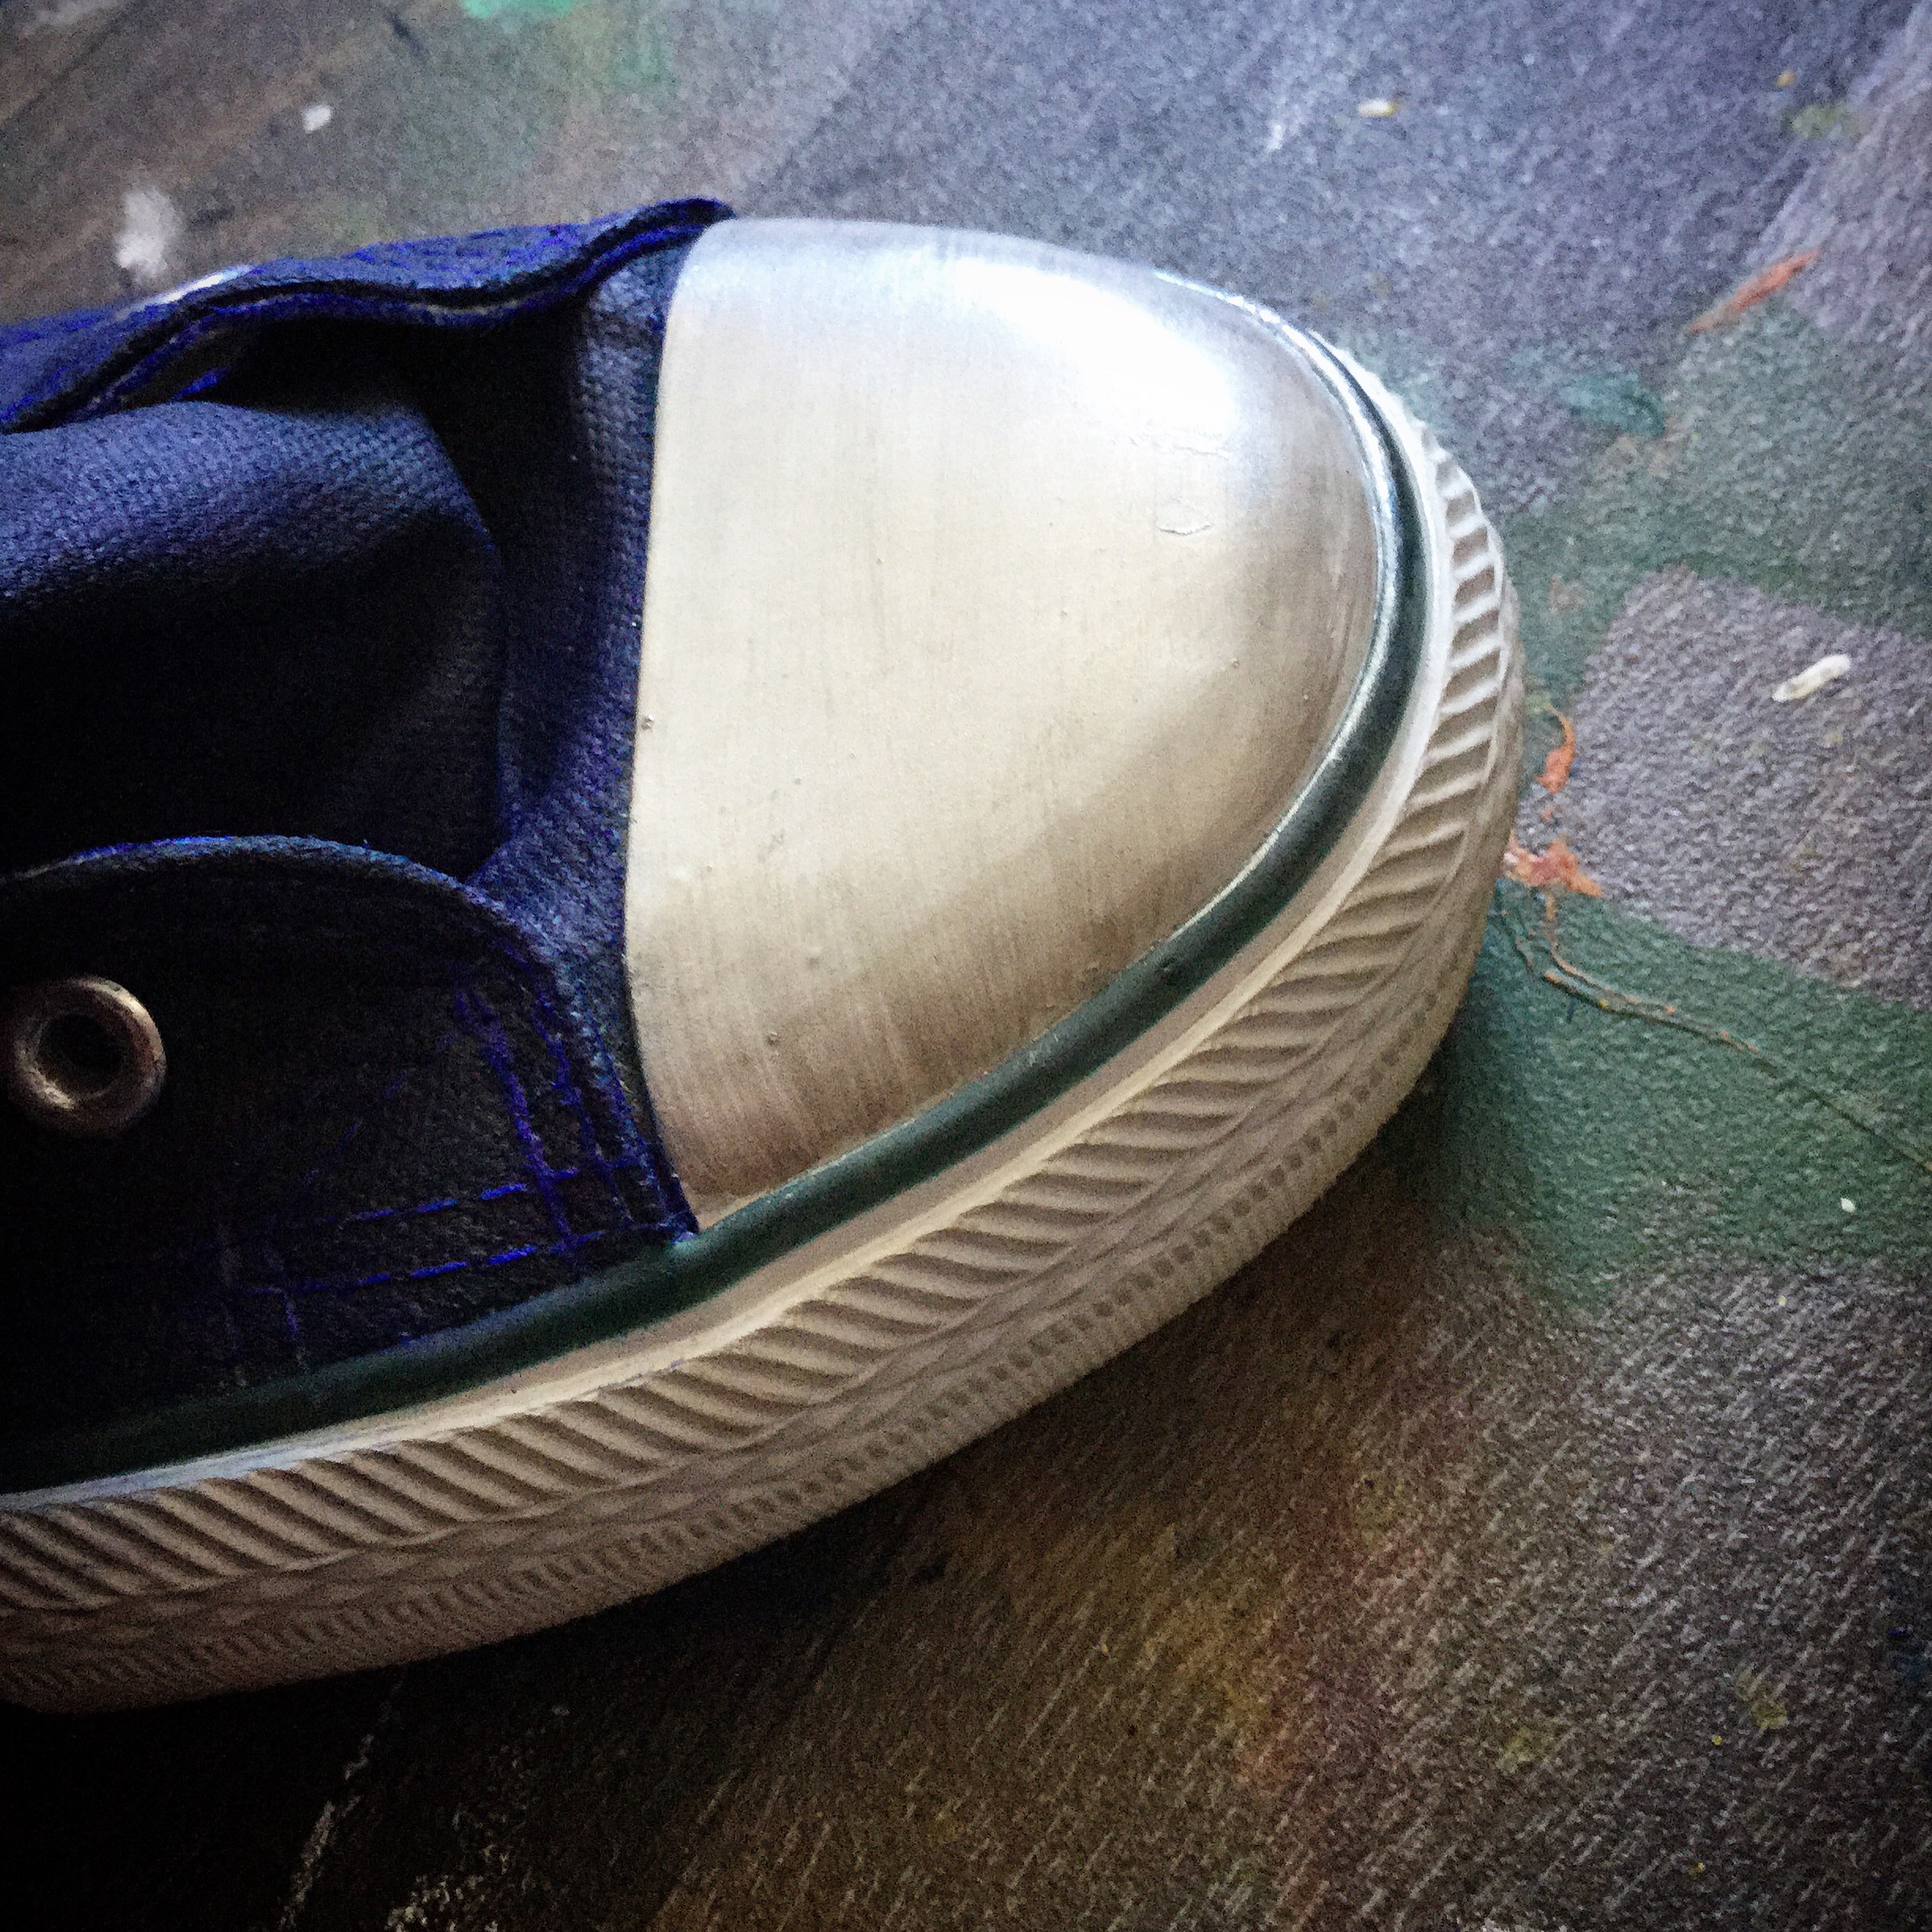
3. I painted with white acrylic the strip on the back to give a light base under the silver paint… A csíkot fehérre festettem a hátulján, hogy a majdani ezüst festéknek világos alapot adjak .

I used these materials for the silver decoration… Ezeket használtam az ezüst dekorációhoz.

4. I painted with silver paint the toe-cap and the strip of the back… Ezüst festékkel lefestettem a cipő orrát, meg a csíkot a hátulján.

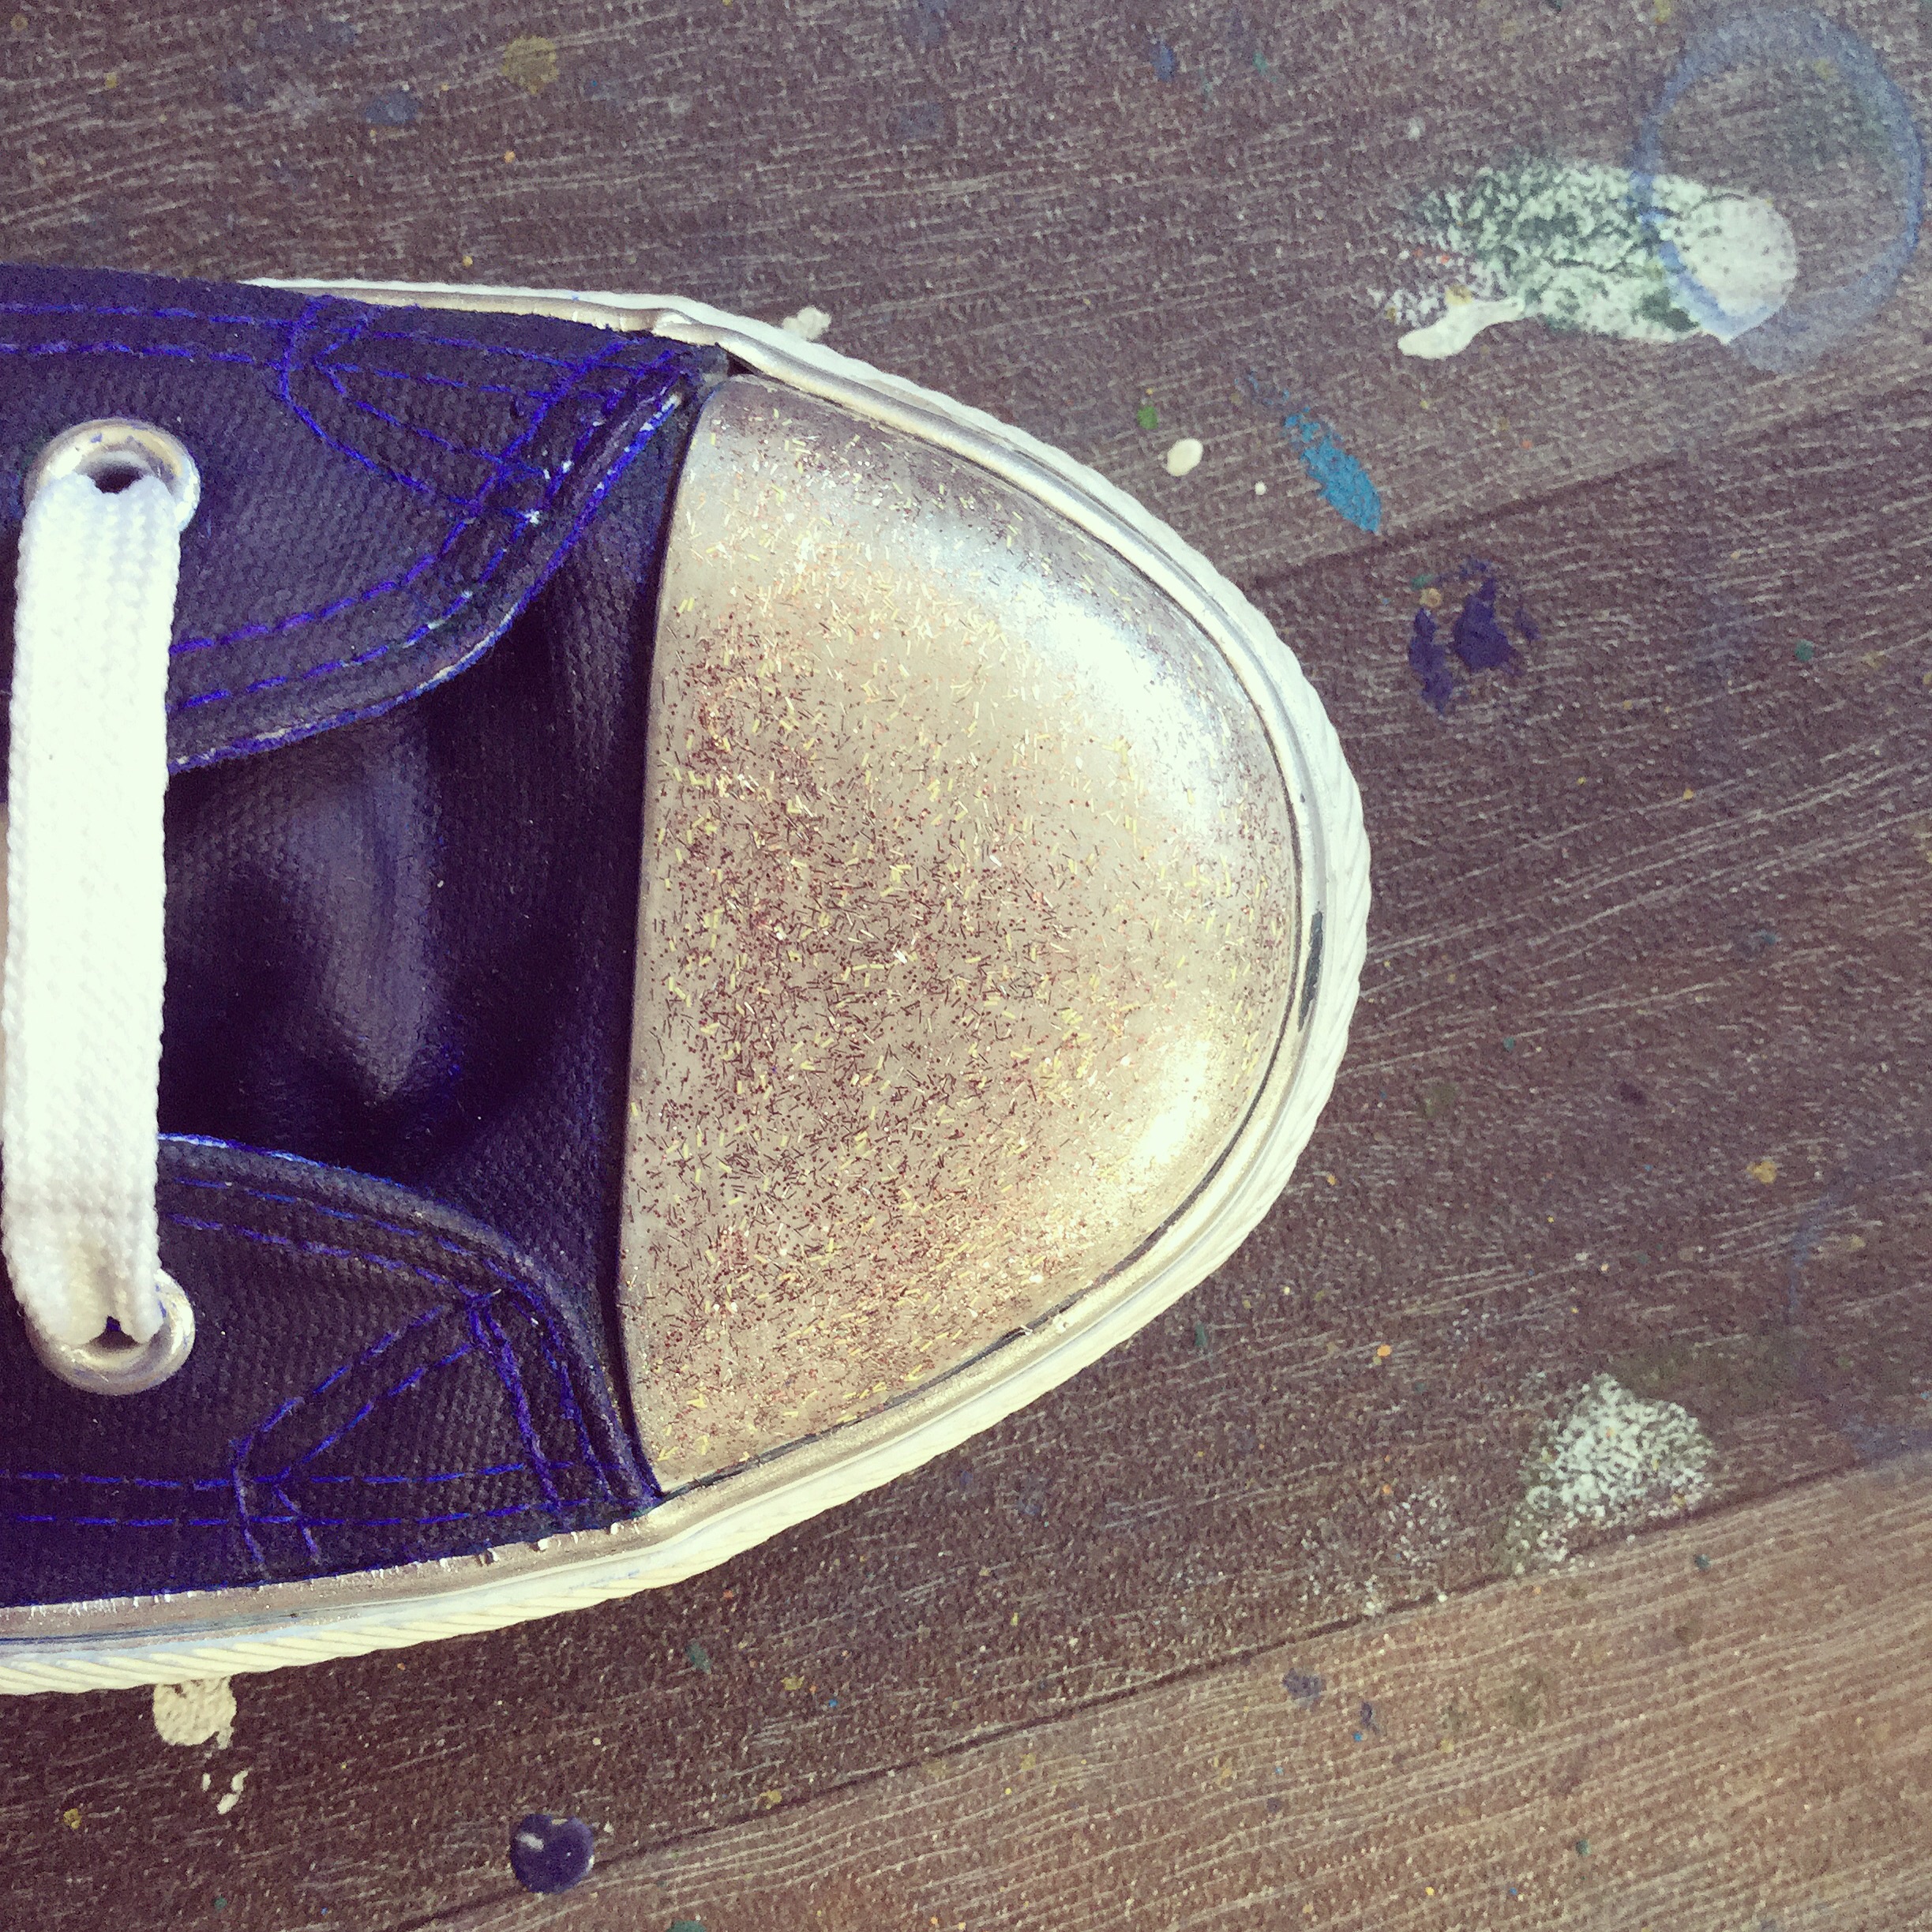
5. Then I covered them with shimmery nail polish… Aztán átkentem őket csillámos körömlakkal.

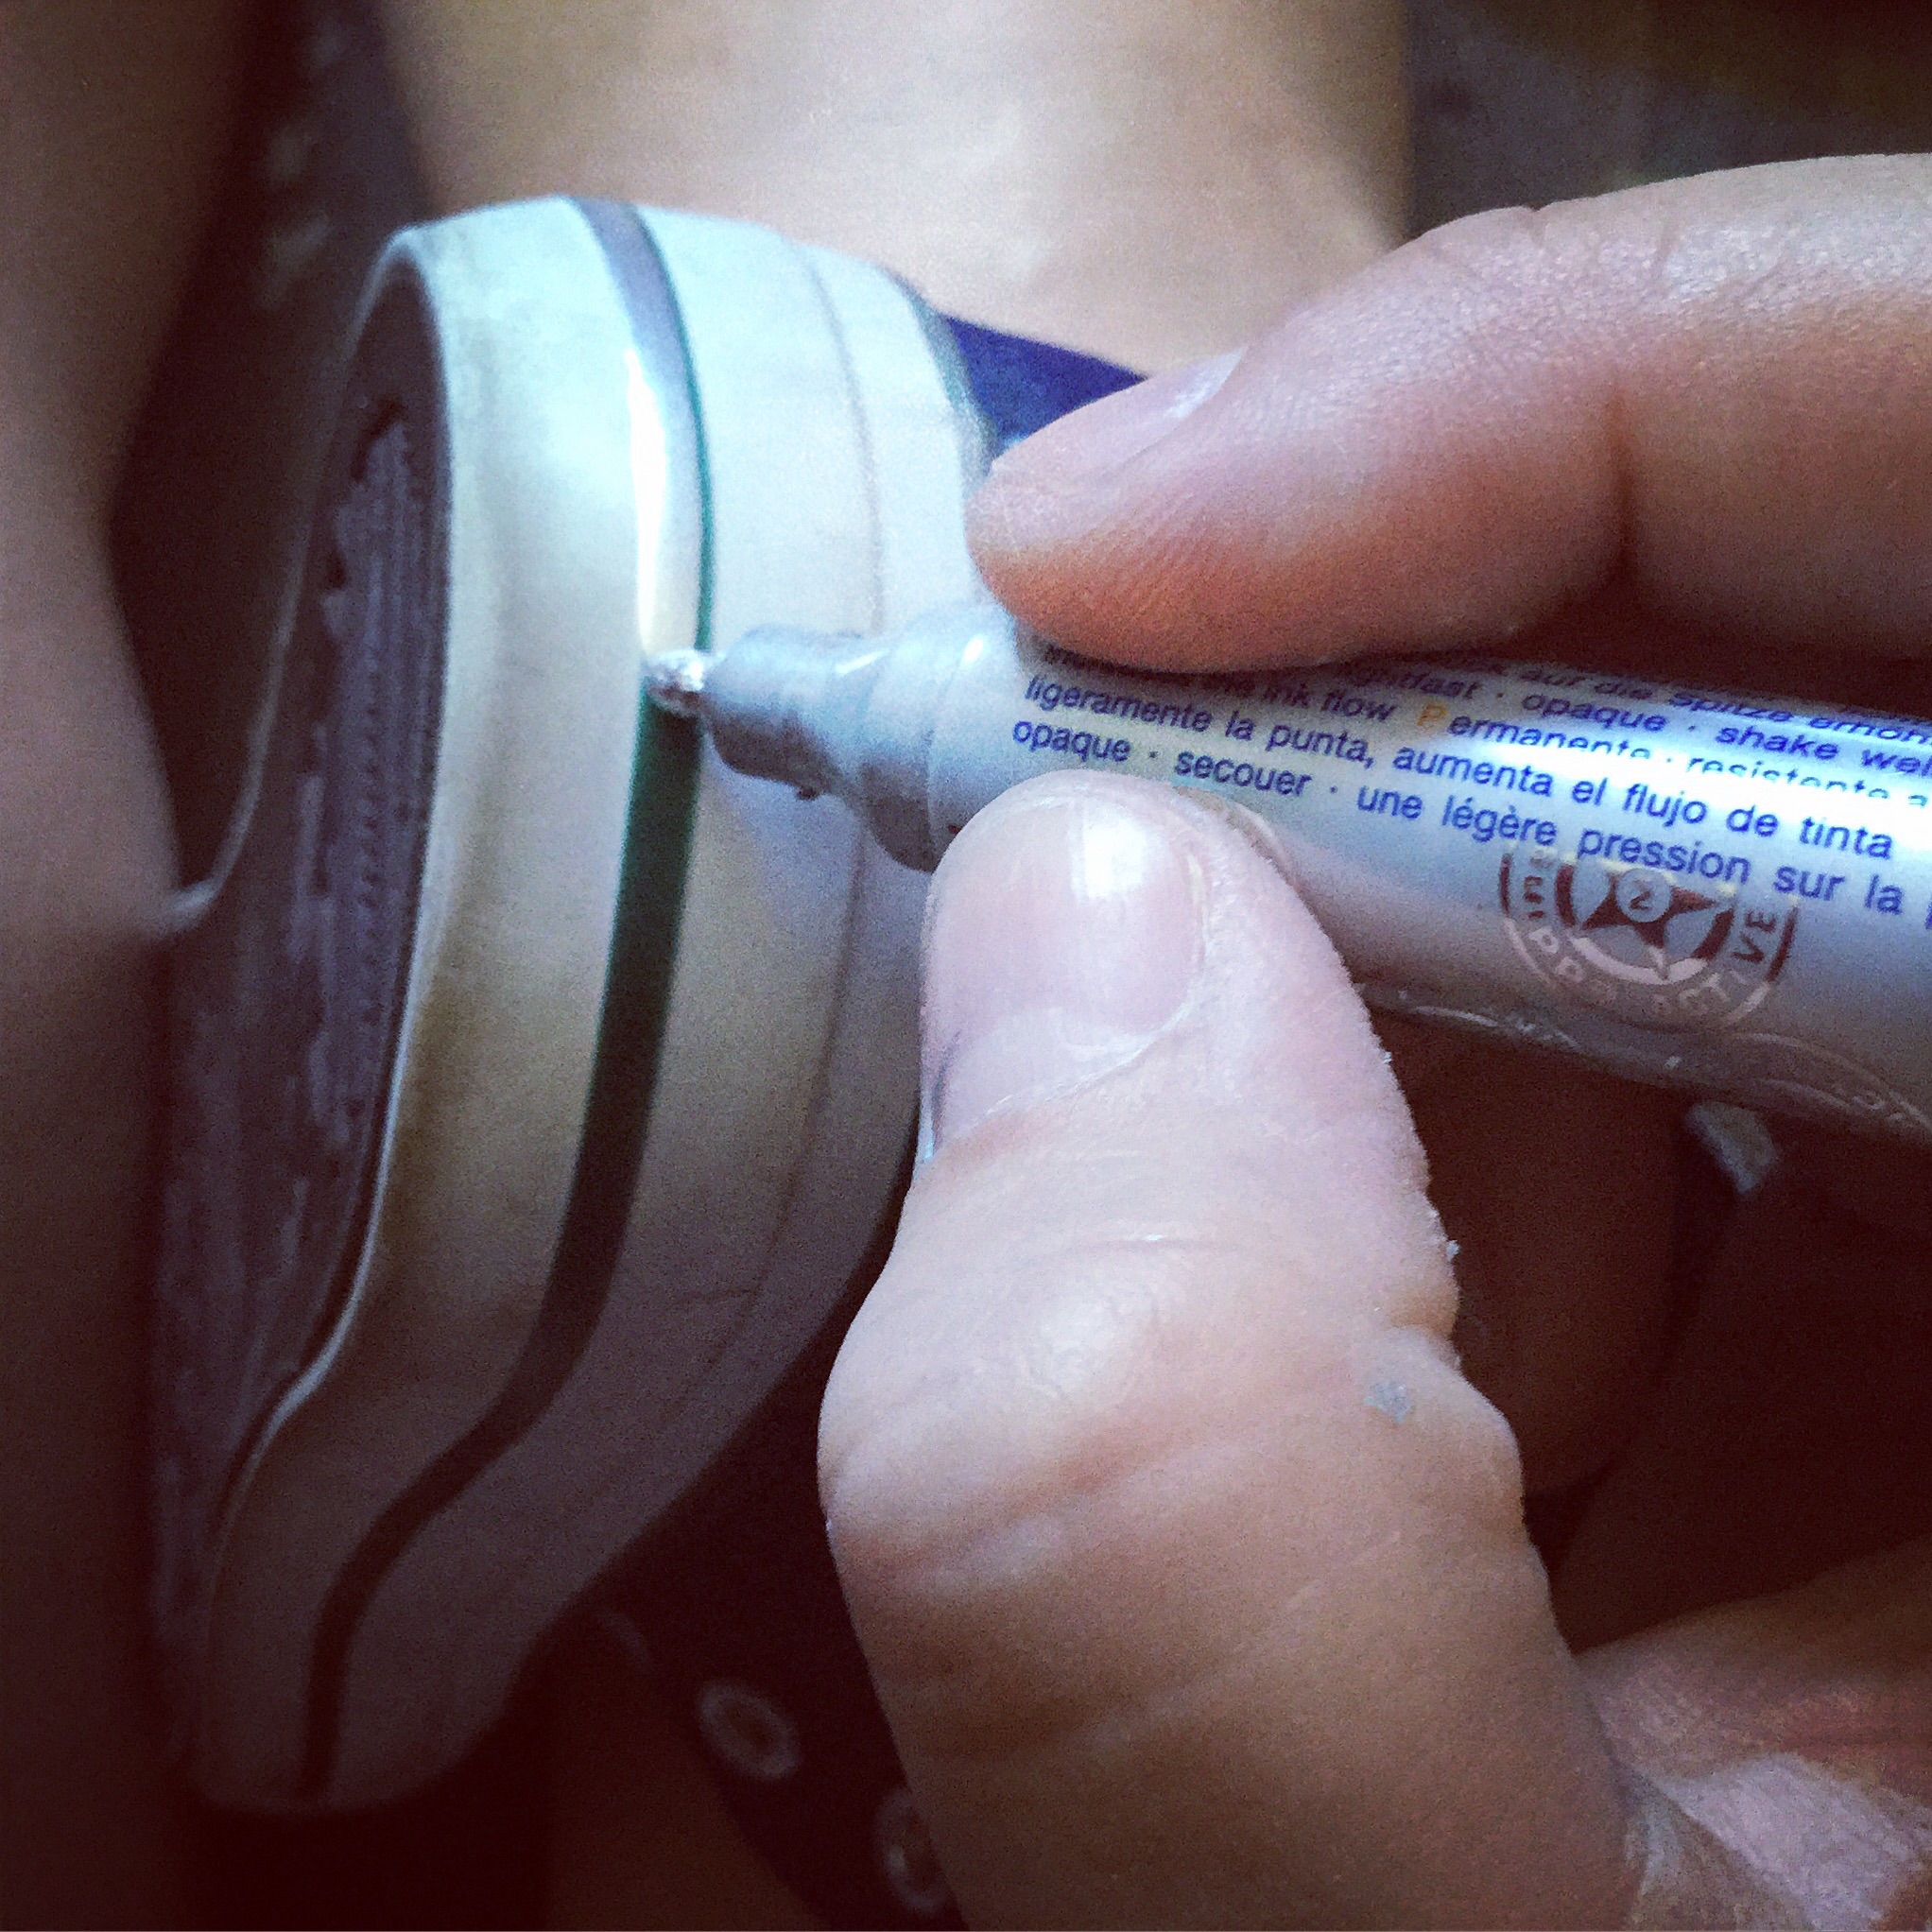
6. I used silver lack marker for the stripes on the sides. I didn’t make a mask to make it strait, because on rubber surfaces the paint can easily flow under the masking tape and the result is just worse than a bit wavy stripe 😀… Ezüst lakk filcet használtam az oldalt lévő csíkok átfestéséhez. Nem ragasztottam le a csíkok szélét, mert tapasztalatom szerint gumi felületeknél a festék könnyen a ragasztószalag alá folyik, és úgy csúnyább lesz a végeredmény, mint ha kicsit hullámos a csík. 😀

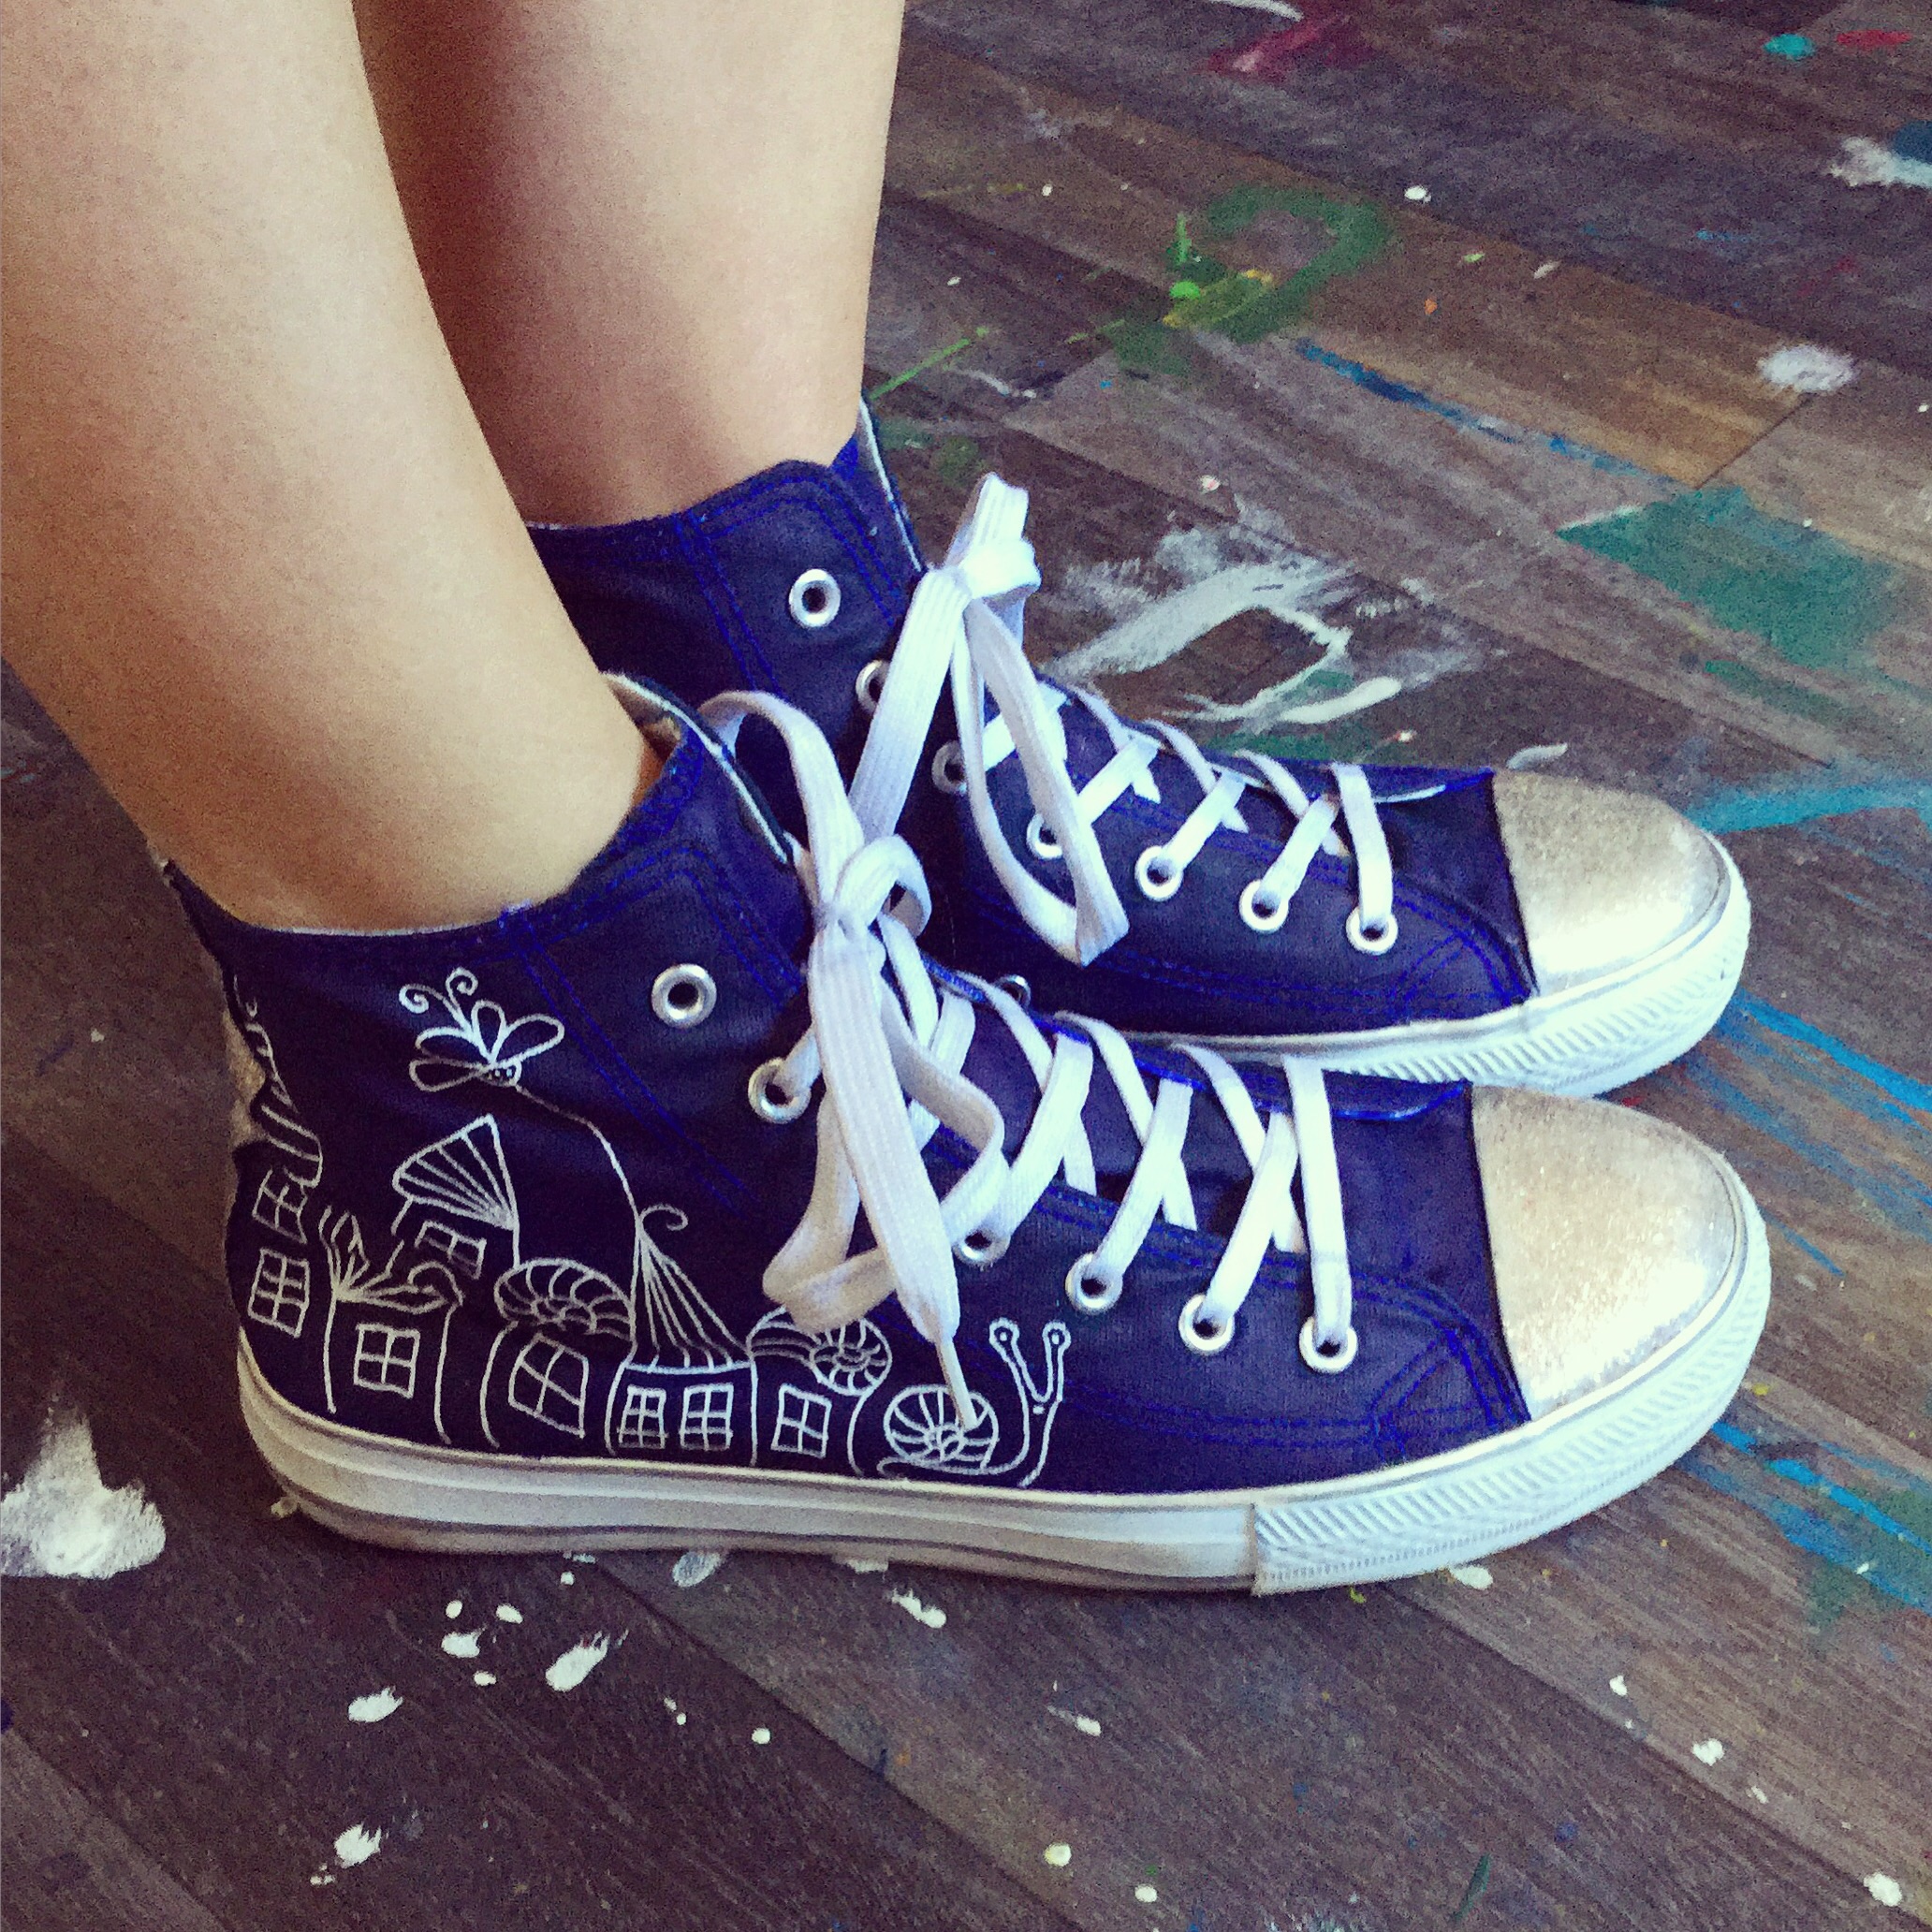
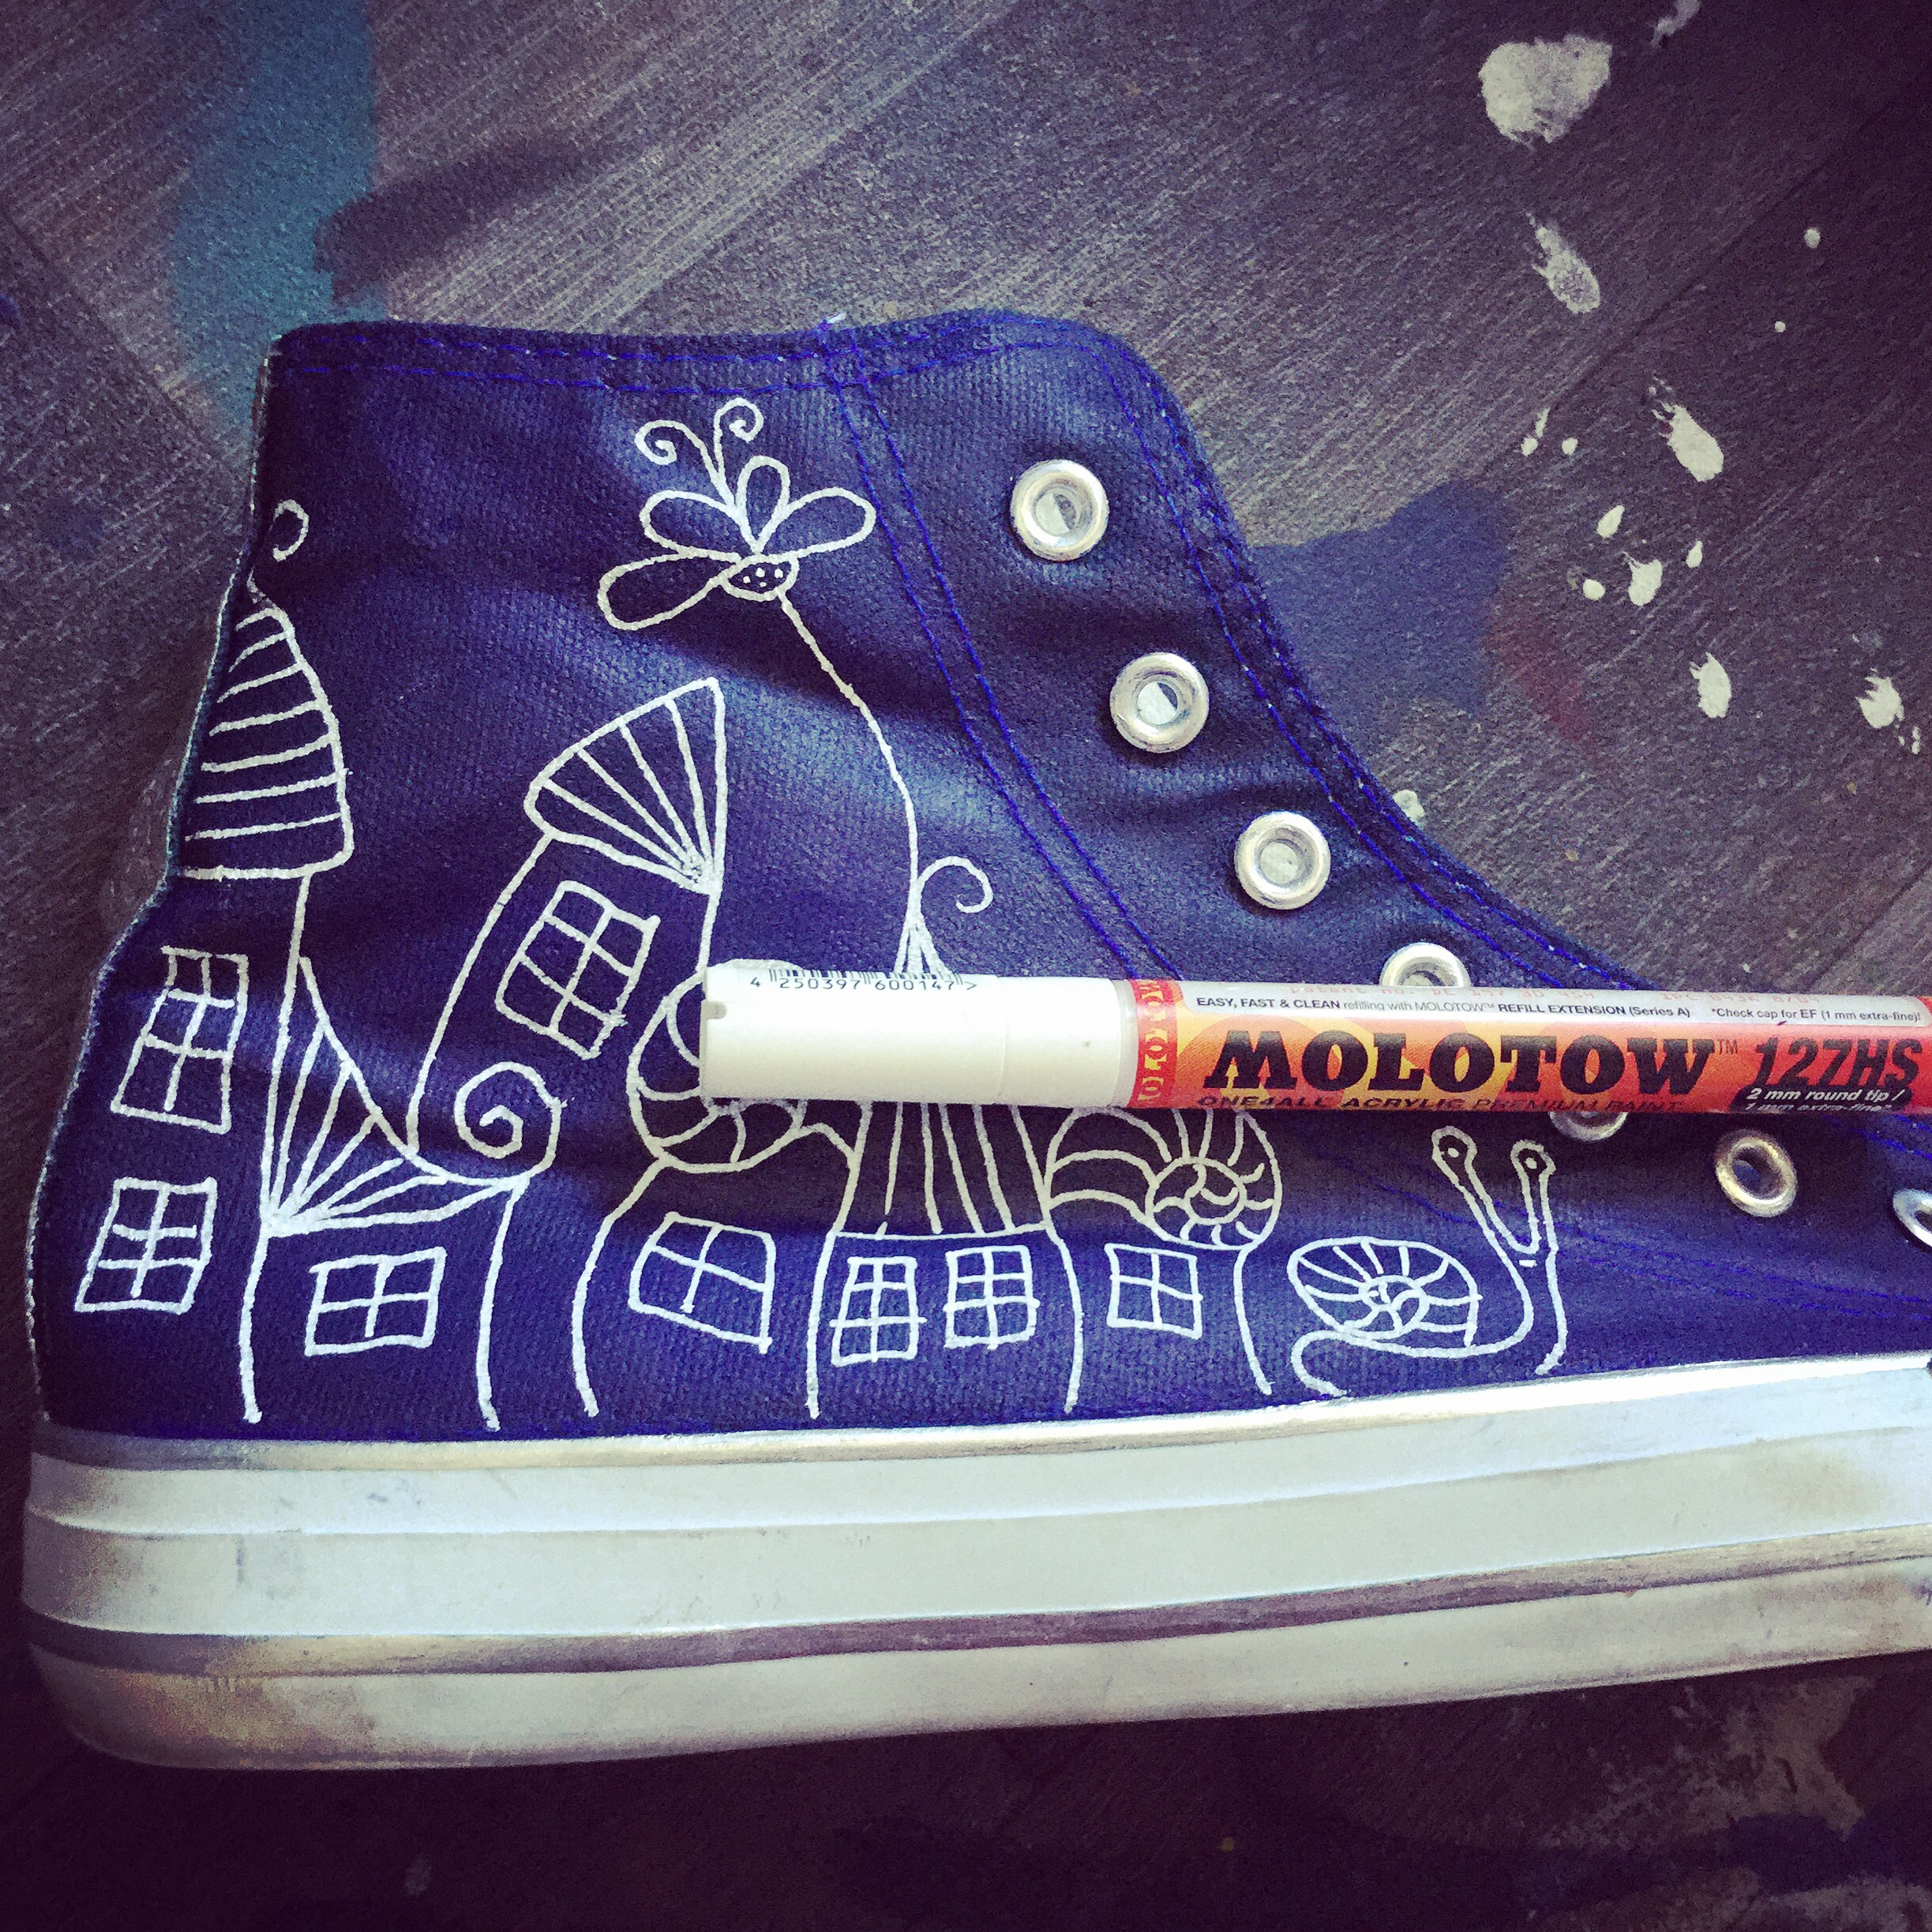
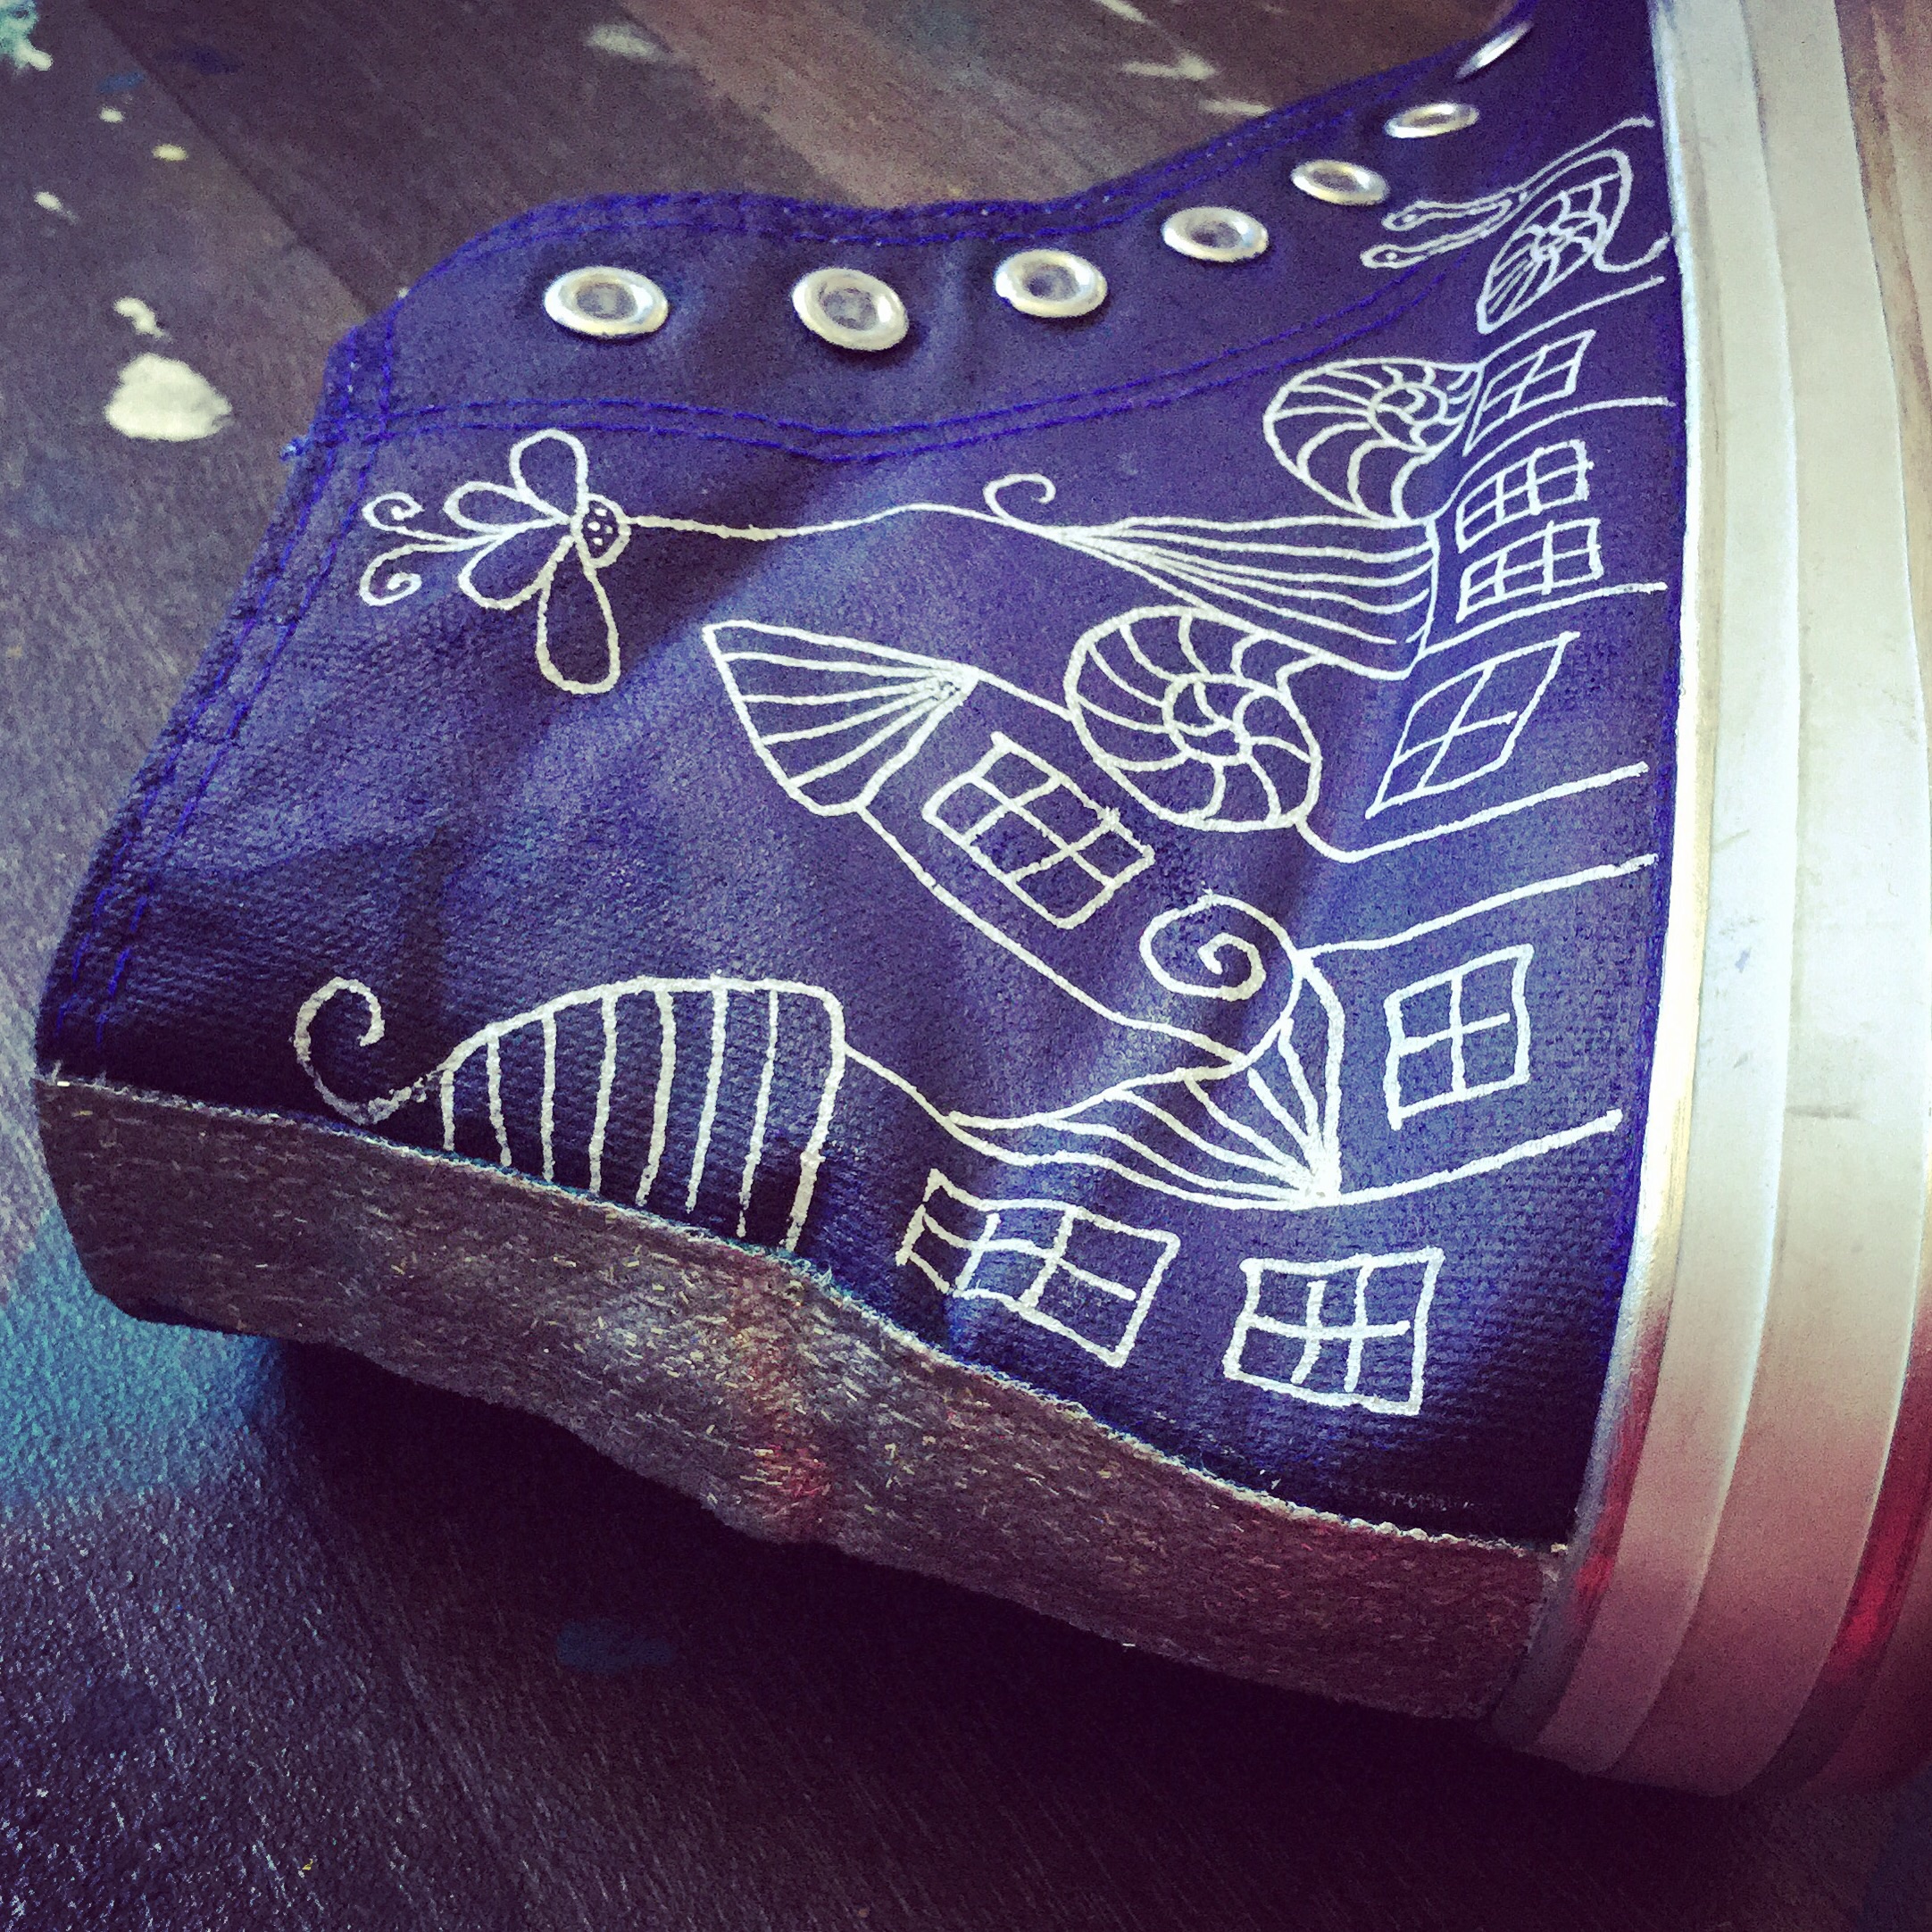
7. After every paint dried I drew a little something on the outer side of the shoes to make it unique… Miután minden festék megszáradt, fehér akril filctollal egy kis rajzot készítettem a cipő oldalára.

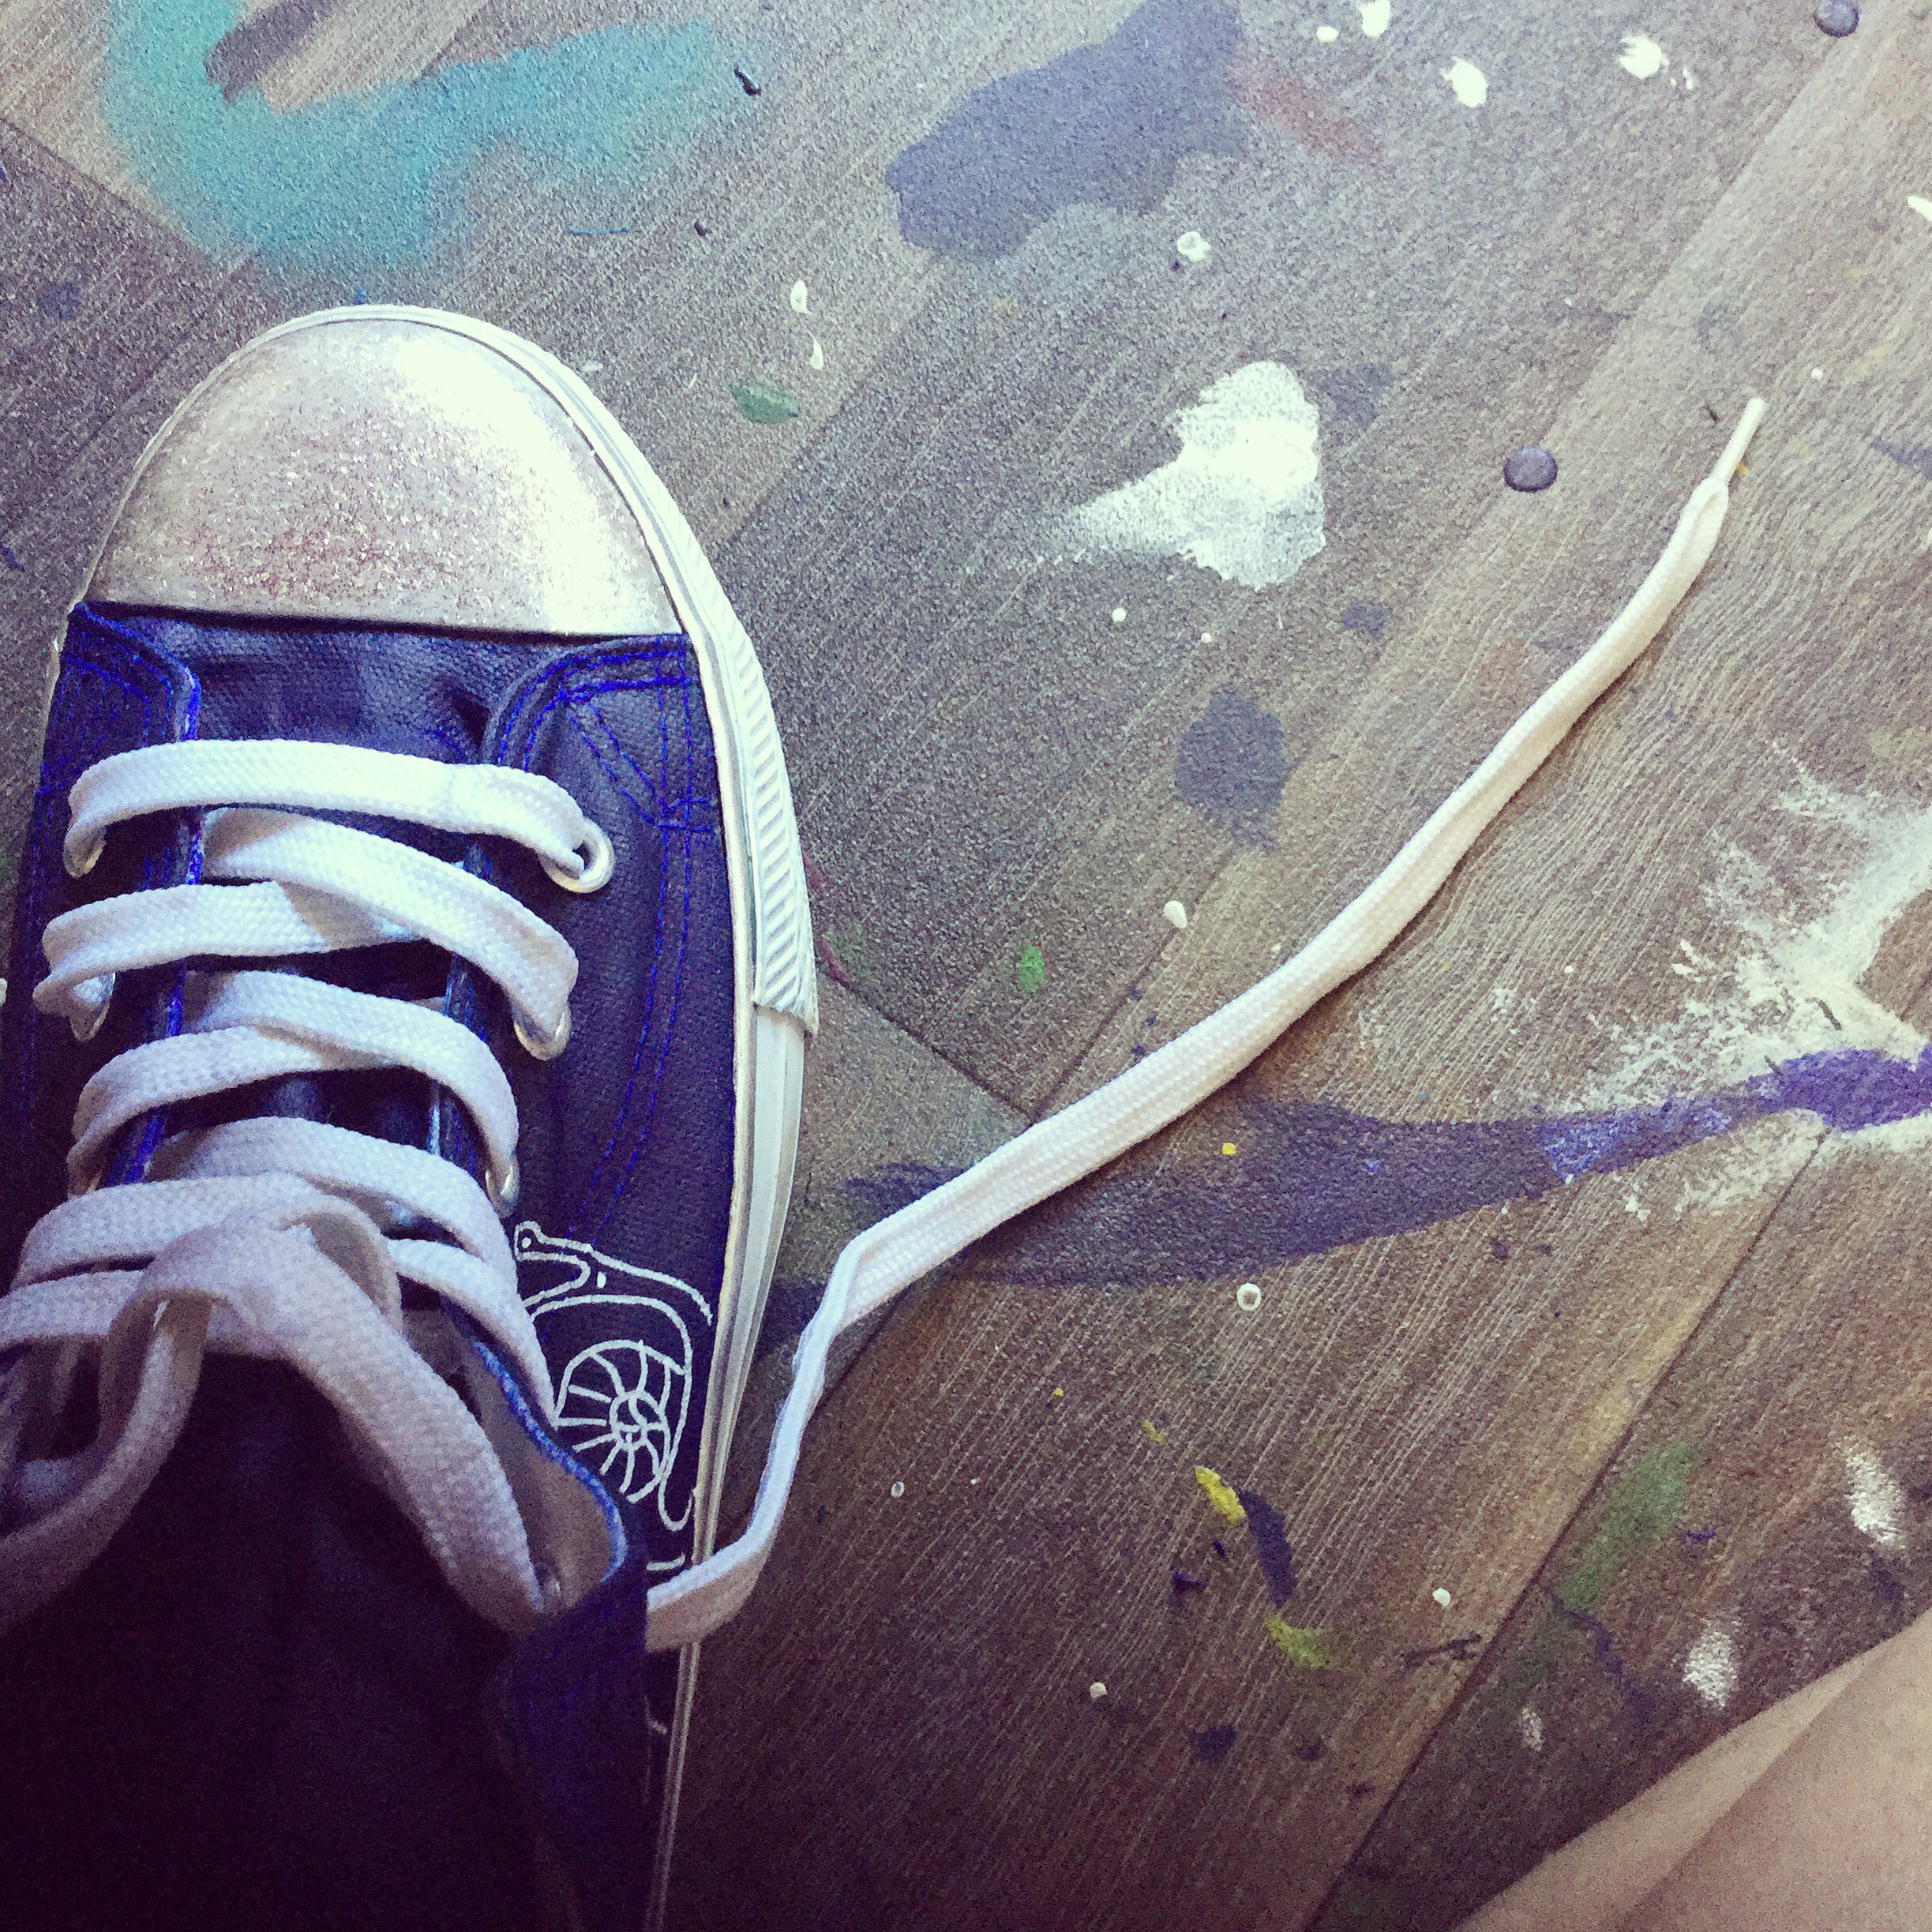
And voilà the result 😀… És íme a végeredmény 😀